

The main components of EMX are:
-
Users: people who use the system
-
Accounts: groups of people; for example, employees of a company or people at a particular location
-
Nodes: monitoring devices such as Smart Power Cords, Multi-circuit Monitors, Branch Circuit Monitors, or Environmental Monitors
To begin to use EMX, you need to create the following in sequence:
-
Accounts
-
Users
-
Nodes
Once that is done, you need create associations between accounts, users and nodes:
Any user with access to an account can see information about the nodes associated with that account. Items such as custom reports and dashboards that are created by one user within an account can be accessed by the others users within that account. Users can be assigned to multiple accounts, but items such as custom reports that are created within Account A are not available to that user when they use Account B, even though that user has access to both accounts. Nodes can also be assigned to multiple accounts.
Prerequisites
To configure EMX, you will need:
-
A working installation of EMX on your network
-
The 16-digit identification numbers and product numbers of the monitoring units and Ethernet Gateways that you will be using
-
The names and email addresses of any users you wish to create
-
The names of any accounts you wish to set up with a contact person and email for each account
Create Accounts
-
Choose Mission control > Edit accounts from the main navigation bar
-
To add a new account, click on the + Add button in the lower left.
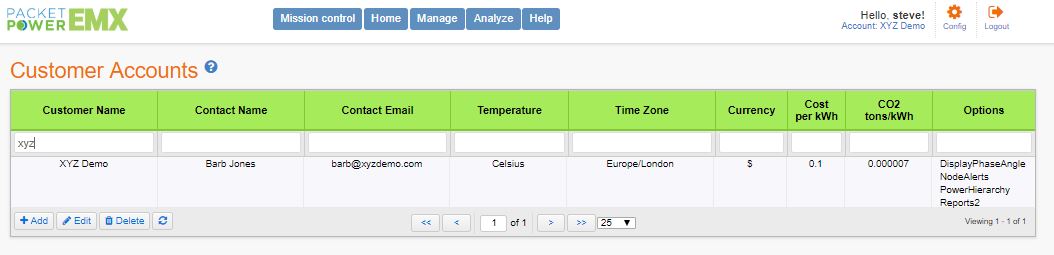
3. Fill out the data in the resulting form.
Typically select these options from the Options: dropdown box: NodeAlerts, PanelConstruction, and ReportScheduling
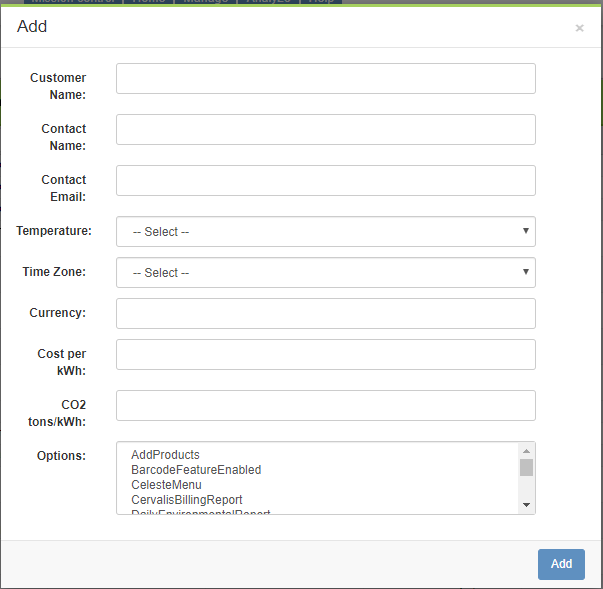
4. When the form is complete, click Add to save.
Create Users
-
Choose Mission control > Edit users from the main navigation bar
-
To add a new user, click on the + Add button in the lower left.

3. Fill out the data in the resulting form. Locales indicates the language displayed for the user; multiple languages can be selected.
IMPORTANT: Do NOT check the Admin or Trans boxes
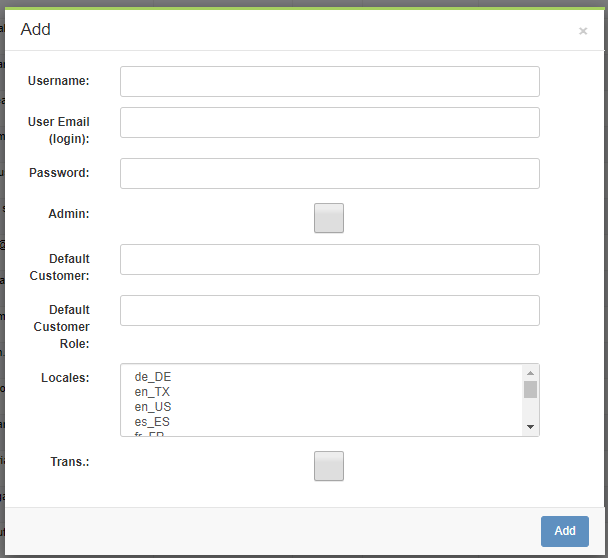
4. When the form is complete, click Add to save.
Add Monitoring Units to EMX
-
Choose Mission Control > Edit Nodes from the main navigation bar.
-
In the Select an action... drop down, choose Import
3. Complete the resulting form.
Choose the Product Type of the units you are adding by beginning to type the product number in the first box. Select the correct product type from the list that appears.
You can add multiple units of the same product type in this screen. Type the 16-digit ID number of each unit on a separate line.
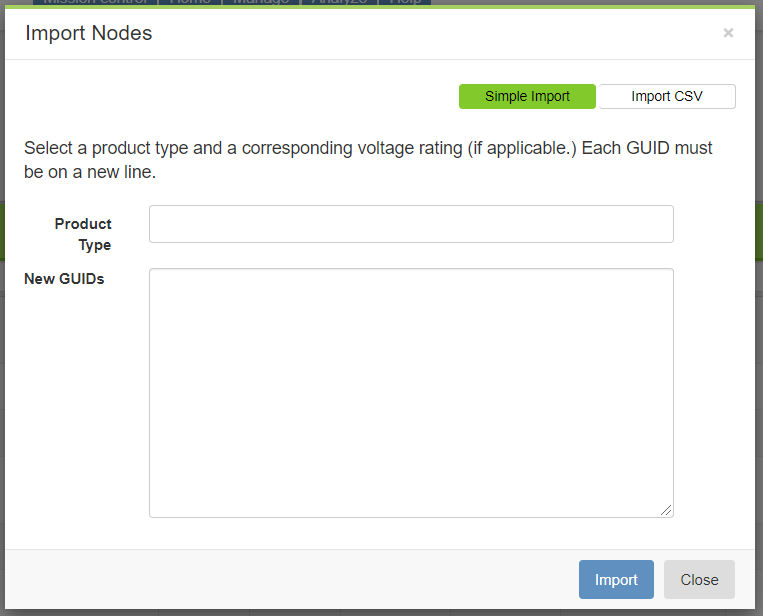
4. Click Import to save.
5. Repeat this process for additional product types.
If you cannot find your Product Type, you can create a new one.
-
Choose Mission Control > Edit Nodes from the main navigation bar.
-
In the Select an action... drop down, choose New Product Type
-
Complete the resulting form
Inventory Id - The Packet Power product number from the packing slip (e.g. BG02-0000 or RG60-460W)
Voltage Rating - the number in volts (e.g. 120) if applicable
Current Rating - Maximum current rating for the device or circuit being installed on (e.g. 50) if applicable
Input Connector - Female end connector type for smart power cable
Output Connector - Male end plug type for smart power cable
Circuit Type - Full power or current only for power monitors
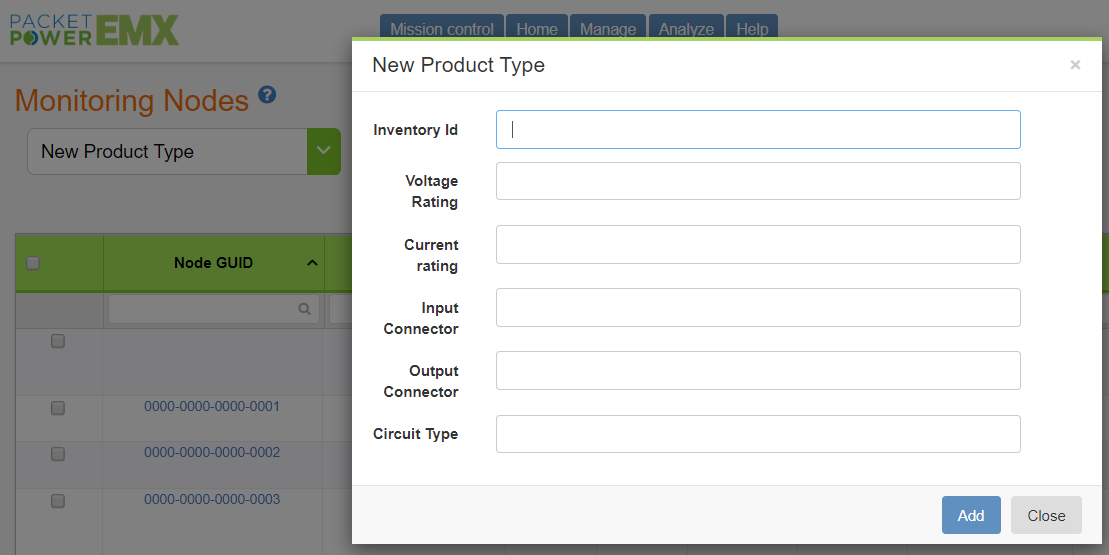
4. Click Add to save.
Contact support@packetpower.com with questions on this process.
Assign Users to Accounts
-
Choose Mission control > Assign accounts - Users from the main navigation bar
-
To assign a user to an account, you can either choose the account then add the user(s), or choose a user and add account(s). Outlined below is the process of assigning By User.
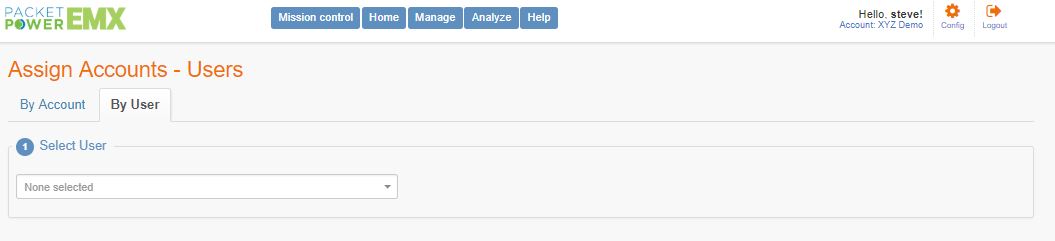
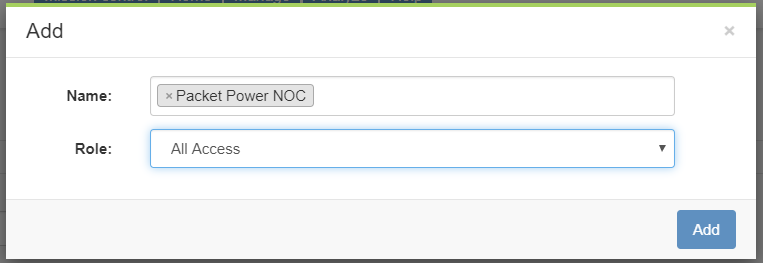
3. Select a user from the drop down box. Once you have selected a User, you can link them to accounts by clicking on the + Add button in the lower left.
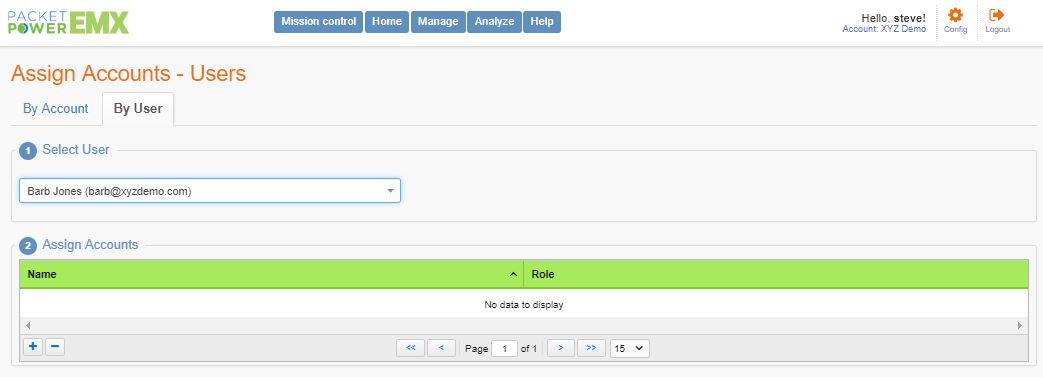
4. Select the account (you can select multiple accounts). You will also need to choose the user's role. "All access" will be used for most users. Click Add to save.
Assign Monitoring Units to Accounts
Once you have added monitoring units to EMX, you must then assign the units to an account. There are two ways to assign monitoring units to accounts: in bulk and unit by unit.
To assign in bulk:
-
Choose Mission Control > Edit Nodes from the main navigation bar.
-
In the Select an action... drop down, choose Bulk Select and click Go.
-
In the pop up menu, add the 16-digit ID numbers for each unit you wish to assign to the account. Use one ID number per row.
-
Click on Select.
-
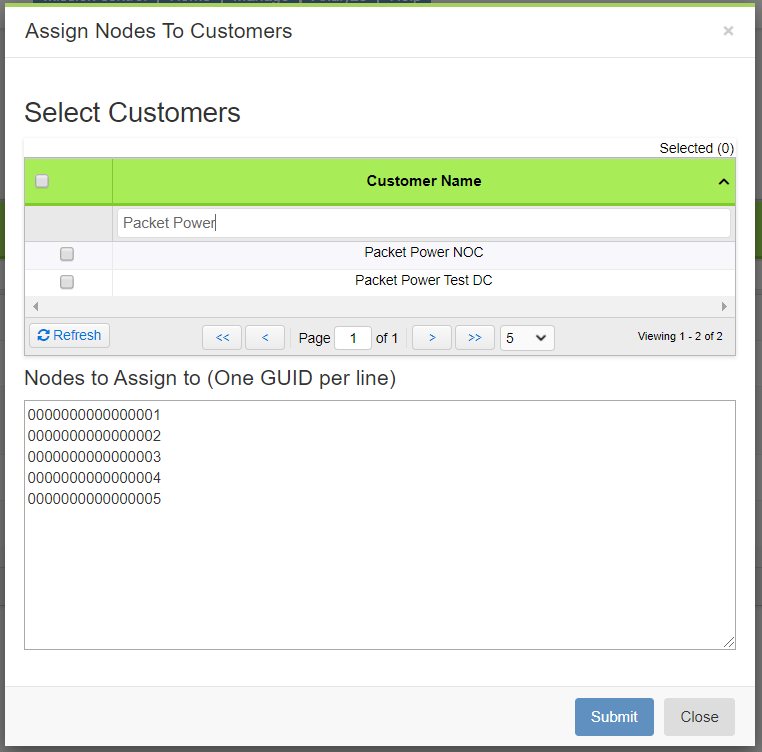
From the main Edit Nodes screen, choose Assign Nodes to Customers from the Select an action... drop down and click Go.
-
Enter the account name in the box at the top. Check the box beside the applicable name and click Submit. You may assign a monitoring unit to multiple accounts.
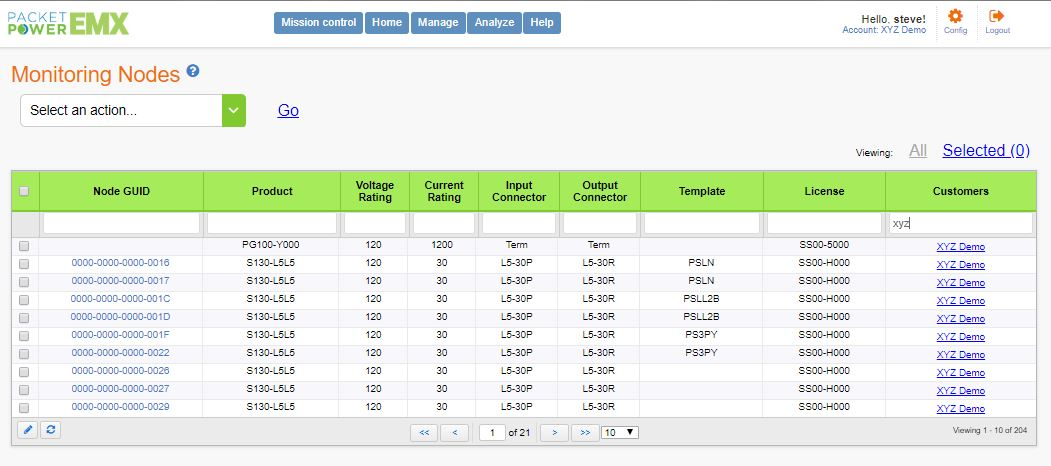
To assign unit-by-unit:
-
Choose Mission Control > Edit Nodes from the main navigation bar.
-
Check the box beside the ID number of the unit you wish to assign. Tip: enter the last 4 digits of an ID number in the blank box at the top of the list to quickly find a particular unit.
-
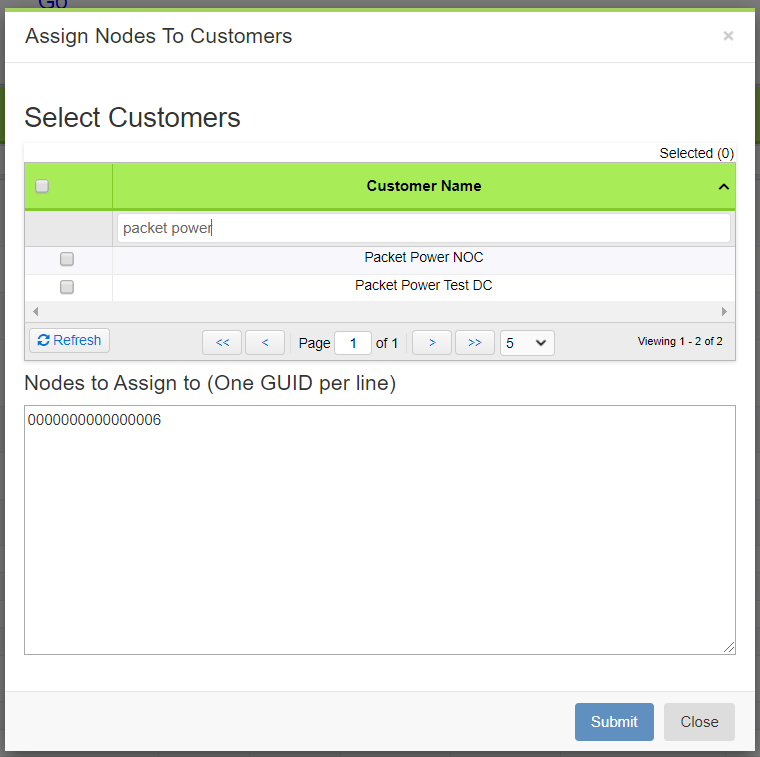
In the Select an action... drop down, choose Assign Nodes to Customers and click Go.
-
Enter the account name in the box at the top. Check the box beside the applicable name and click Submit. You may assign a monitoring unit to multiple accounts.
Optional: Add EMX Subscription Information to the Account
Follow these instructions if you want to manage access to EMX for billing purposes.
-
Choose Mission control > License Blocks Edit from the main navigation bar
-
Click on the + Add button in the lower left.
-
Fill out the data in the resulting form.
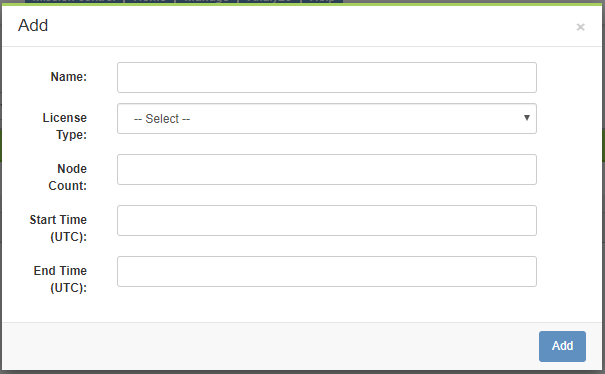
4. Click Add to save changes.