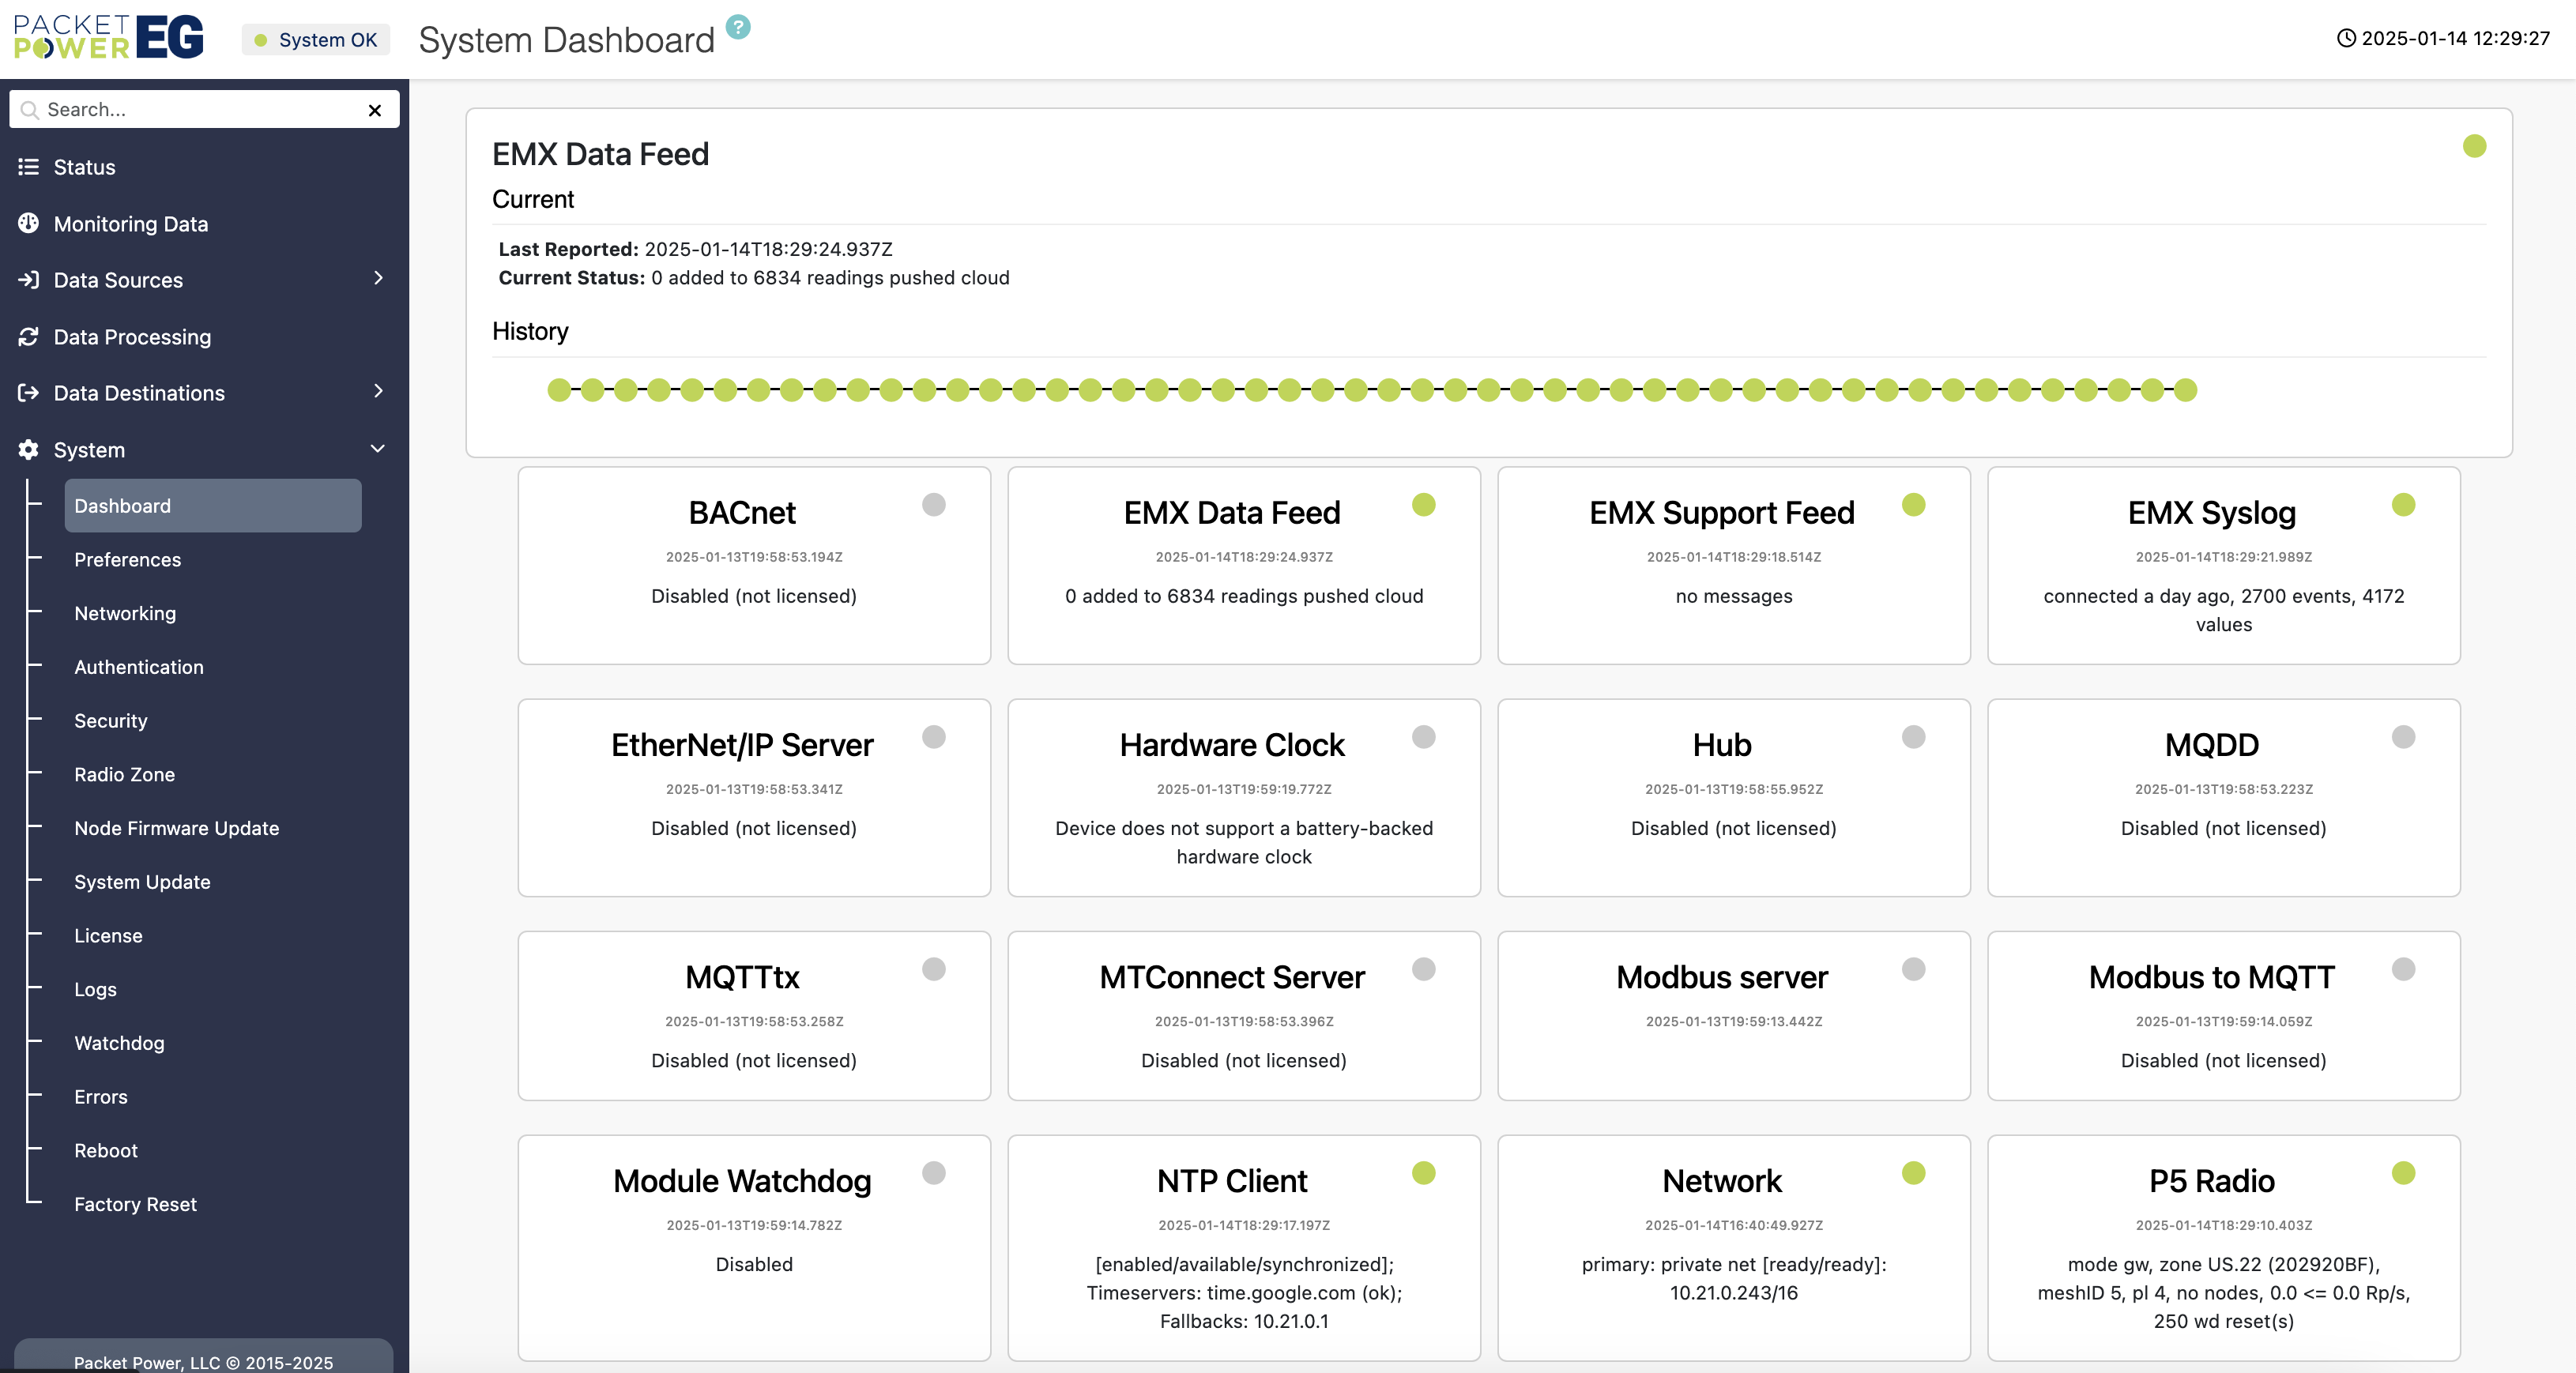
Dashboard
The Dashboard feature serves as a diagnostic tool for Packet Power and its authorized partners. Note that it may not be available on all Gateways. To view a status history timeline and additional details, click on a card, and the information will appear at the top of your screen. The current status of each card is indicated by the colored circle in the top-right corner.
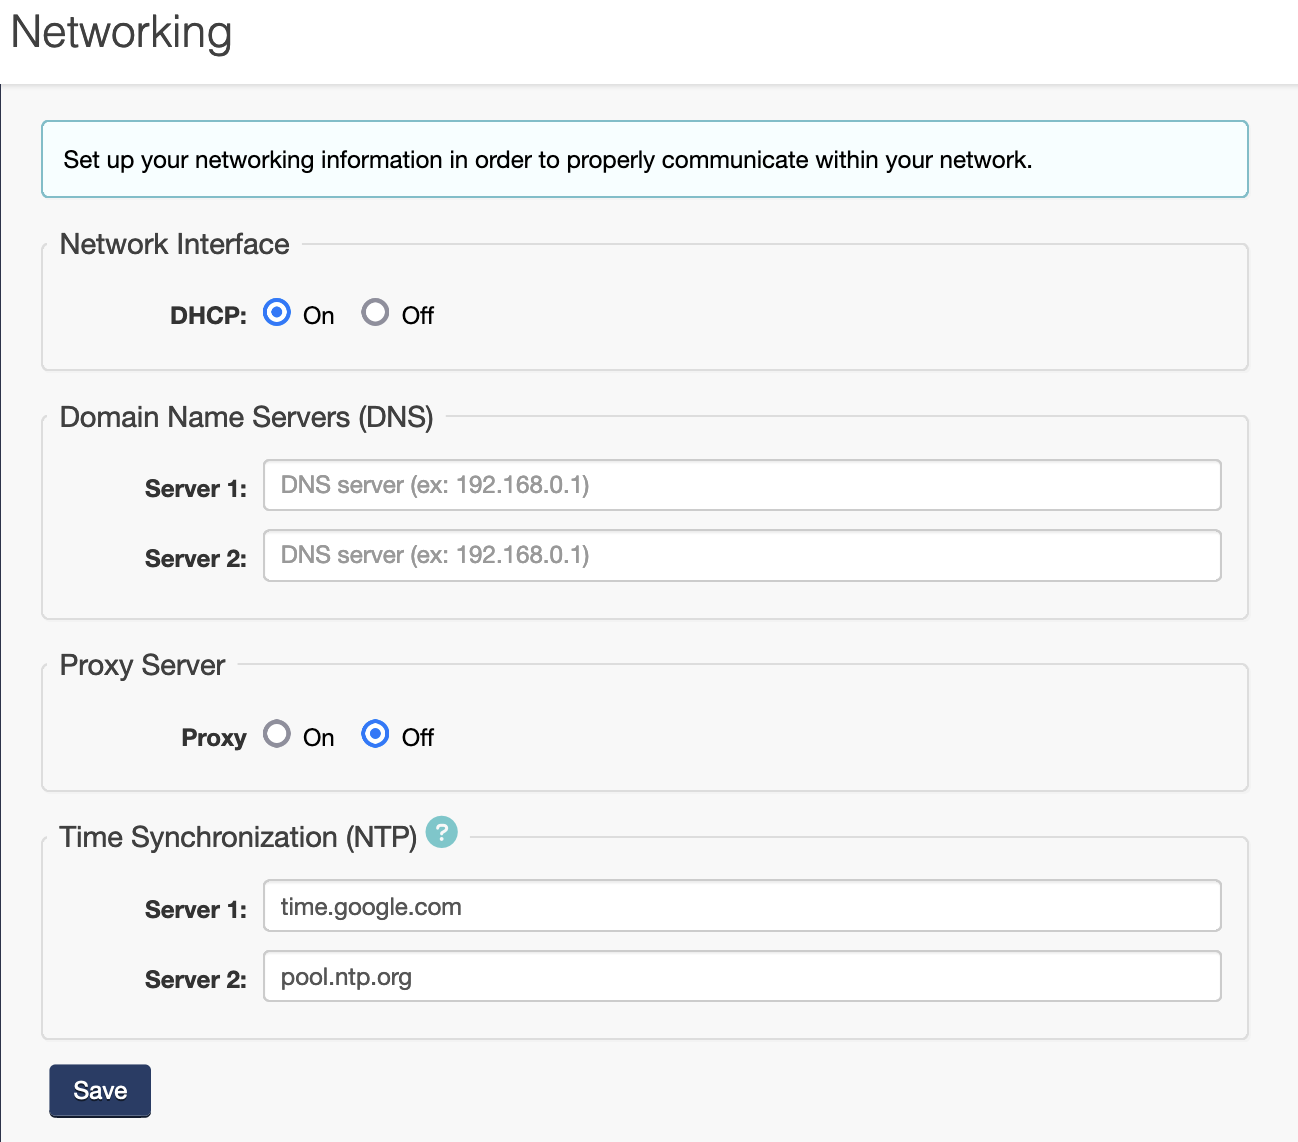
Networking
The Networking tab allows for the input of network settings. See the Network Configuration section for a detailed explanation.
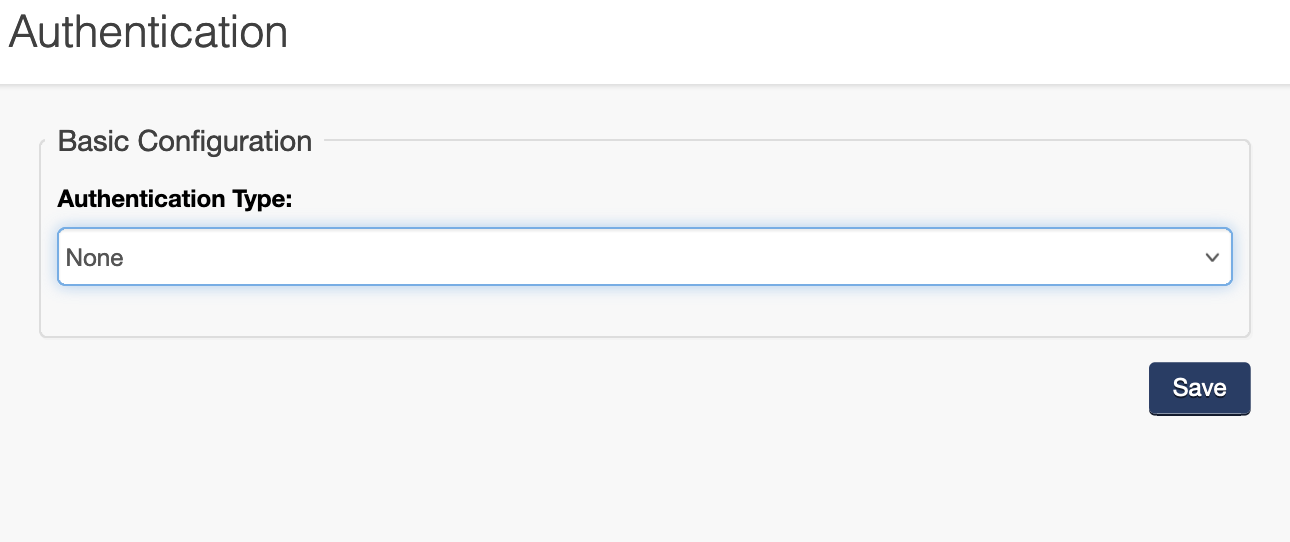
Authentication
Configure your desired method of authenticating user access to the Gateway. Multiple options exist including "None" and "Local Account". To set up local users for access see Adding Authentication
Security
HTTPS is designed to provide secure communication between a web browser and a web server by encrypting their data. It relies on digital certificates issued to domain names to establish the identity of the server and ensure the confidentiality and integrity of the data being transmitted. Because of this design, using HTTPS with IP addresses is not straightforward and has some limitations. SSL/TLS certificates, a fundamental part of HTTPS, are issued to domain names, not IP addresses. Some Certificate Authorities will issue a certificate to owned static public IP addresses but not to local IP addresses. These certificates are used to verify the authenticity of the website's server and establish an encrypted connection. When you access an E4 using an IP address and HTTPS, the server's certificate won't match the IP address, causing a mismatch error or a security warning in your browser.
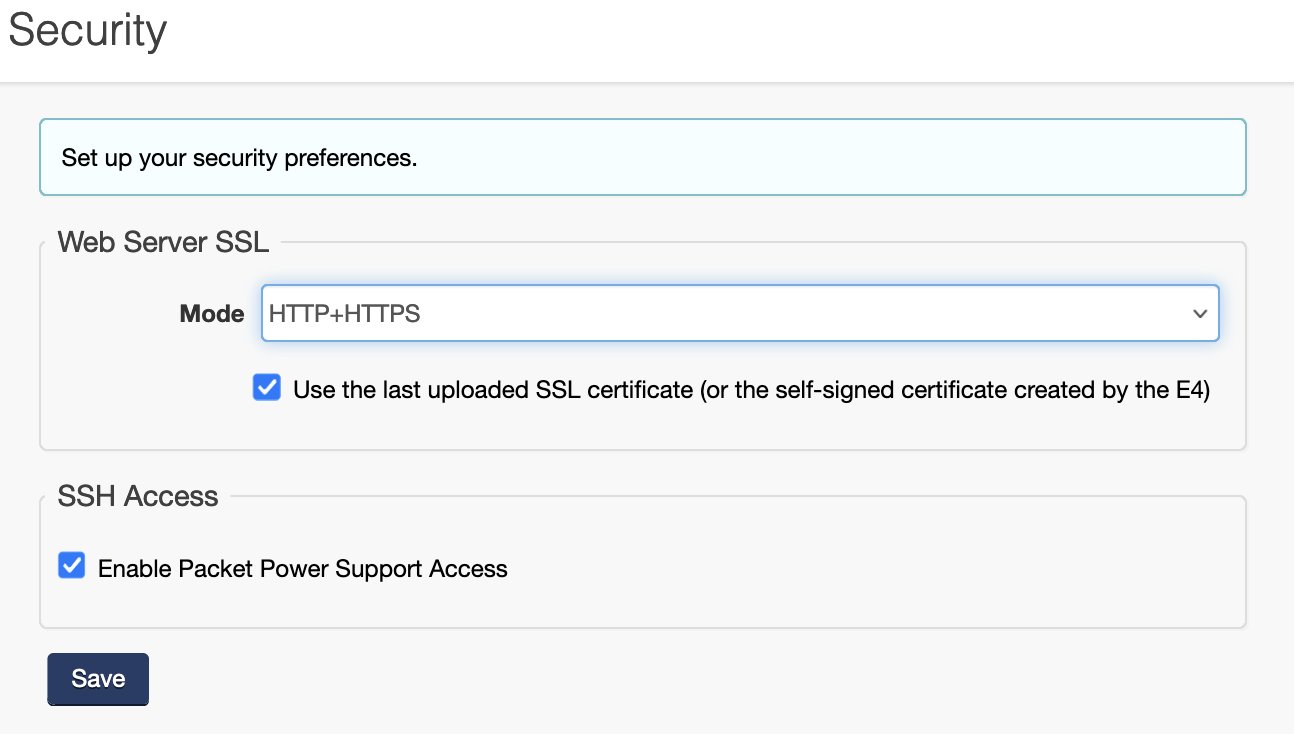
The Security tab provides access to additional network security features for the Gateway allowing for the use of HTTPS and SSL protocol with security certificates.
The default exchange protocol is HTTP + HTTPS. This can be upgraded to an SSL protocol using one of the three other optional settings by selecting from the “Mode” drop-down menu (1)
-
HTTP Only (no SSL)
-
HTTP + HTTPS
-
Redirect HTTP to HTTPS
-
HTTPS Only
After selecting an enhanced SSL protocol it is necessary to enter the “Certificate” and “Key” files (2) for the related protocols when selecting an option supporting HTTPS. The Certificate can either be self-signed or from a certificate authority. It must be an X.509 TLS Certificate and Private Key.
Once the data has been entered click the “Save” button to implement.
Additional security options are available. Consult Packet Power for details.
Radio Zone
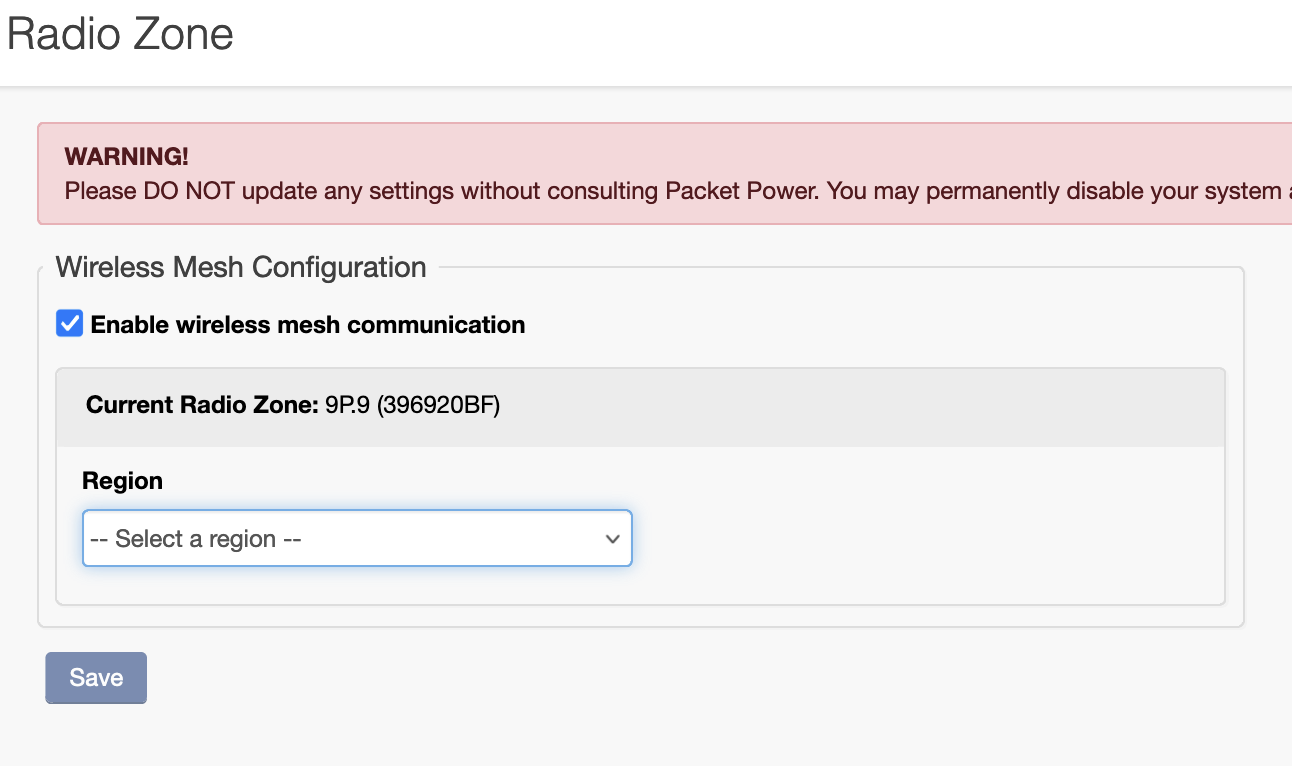
WARNING: DO NOT update any Radio Zone settings without consulting Packet Power. You may permanently disable your system and/or violate local radio communication licenses!
Packet Power Gateways and monitors are capable of transmitting on both the 900 MHz and 2.4 GHz bands in the ISM spectrum along with segregated channels within these bandwidths. Depending on geographic region or country there are specific bandwidths required. This is defined by the “Region” (1) setting in the Radio Zone configuration.
Radio Isolation / Isolation Group
In many cases, there is a requirement to “radio isolate” or segregate specific Gateways and monitors from other Gateways and monitors sharing radio proximity. This is achieved by designating a specific group of Gateway and monitors to an “Isolation Group” (2). Note that both the Gateway and nodes must share the same radio isolation group for successful communication. Modification of radio isolation groups should only be done with guidance from Packet Power.
Node Firmware Update
The Node Firmware Update feature allows the Gateway to wirelessly broadcast firmware updates to all monitoring nodes communicating with a given Gateway. This is an inherently safe feature since the firmware is transmitted redundantly over time and is not actually deployed until a complete image has been received and verified to be correct. Due to the variability of the radio connections and network load, firmware updates may take from a few hours to a day, depending on the size of the network. During the update process, the monitors will continue to function normally. When completed, the monitors will automatically reboot and switch to the new firmware.
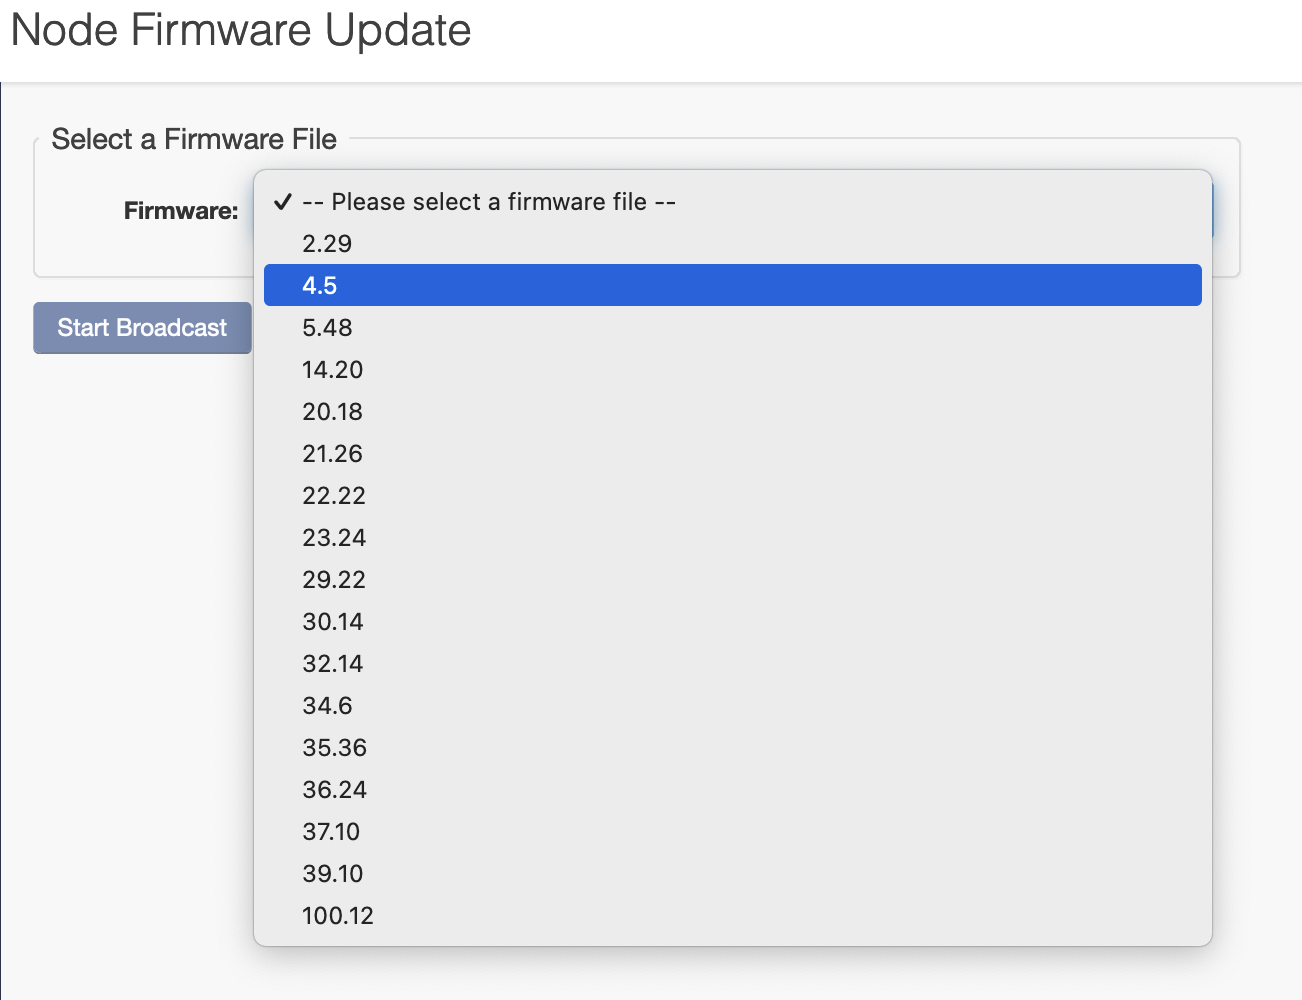
Note that different monitoring node types use different firmware images. In a firmware version designation, the first number (e.g. "5" in 5.28) denotes node type and the second number (i.e. "28") indicates the firmware version. Nodes of a given type will only receive firmware images of the matching type. If multiple firmware images need to be upgraded (e.g. upgrading 5.28 to 5.29 and 23.12 to 23.14), upgrades have to be done sequentially (initiate one upgrade, wait for it to complete, then initiate the next upgrade).
Updating Firmware on Monitoring Nodes
-
Select the appropriate firmware version from the “Firmware” drop-down menu. A list of firmware updates can be found here.
-
Click the “Start Broadcast” button.
-
The progress of the update will be shown on a bar chart as well as the top right corner. The update transmission may be terminated at any time by clicking on the “Stop Broadcast” button.

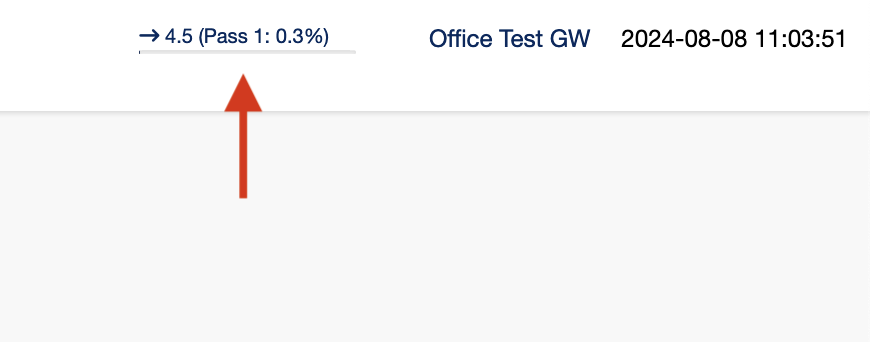
A node firmware update may take a long time. During the uploading process, the node will be fully operational using the existing firmware. Once the upload is complete the node will automatically reboot and revive with the newer firmware version. The node may be offline for a very short time during the reboot process. In the event that a firmware upload is interrupted, it will resume at its last position without losing the initial data uploads. The upload status can also be viewed on the main Gateway Console screen next to the "System Status" indicator.
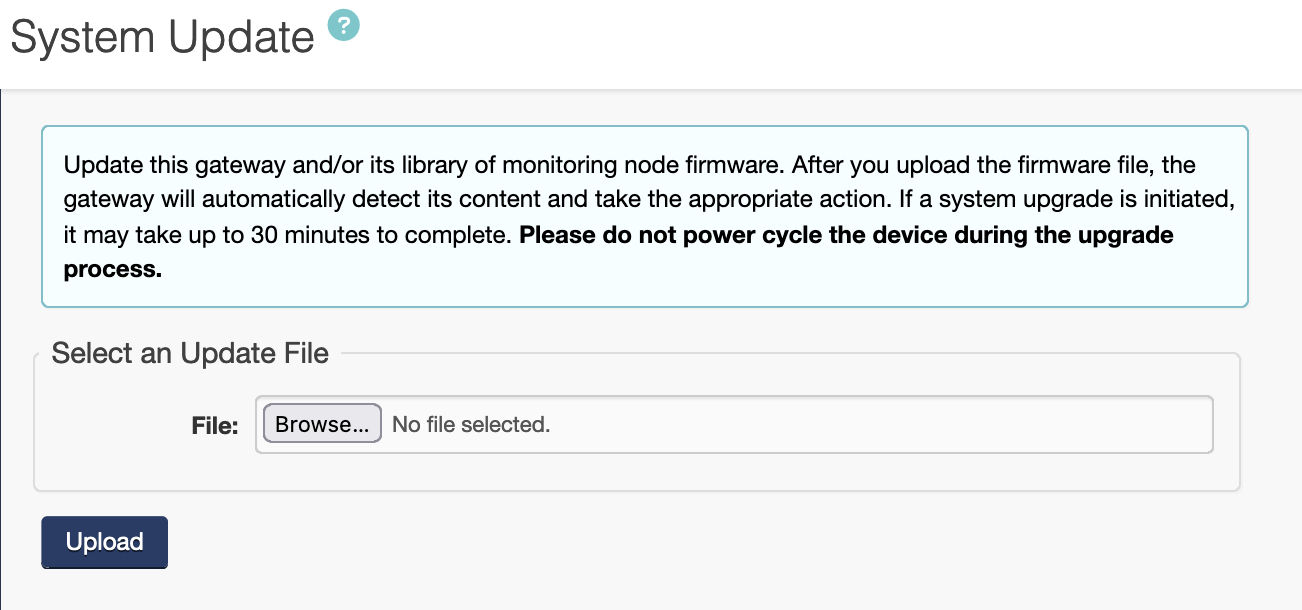
System Update (Update Firmware on Gateway)
The System Update feature provides the latest Gateway firmware along with an updated library of monitoring node firmware. After the firmware file is uploaded, the Gateway will automatically detect its content and automatically integrate the new firmware.
To initiate a system update:
-
Select an "Update File” by clicking the “Choose File” button (1). Update files are provided by Packet Power.
-
Click the “Upload” button (2).
The system upgrade may take upwards of 30 minutes.
License
Various features of the Gateway will require a separate product license. These licenses can be implemented by uploading the license file provided by Packet Power or an authorized partner. Licensed features can include:
-
SNMP
-
Modbus
-
BACnet
-
MQTT
-
MTConect
-
Virtual Panel Mapping
-
Gateway Capacity (limited versus standard)
-
Monitor Mode
To implement a product license:
-
Select the license file by clicking on the “chose file” button under “Select License File”.
-
Click on the “Upload” button.
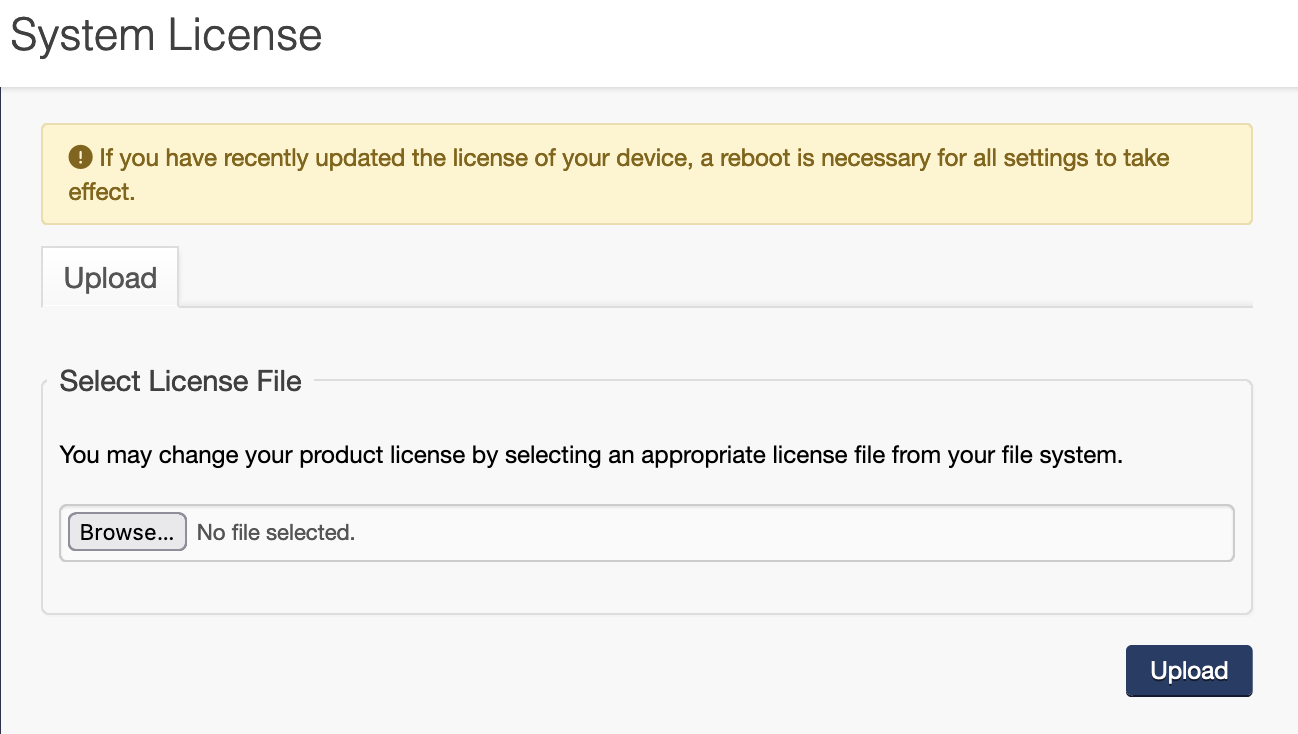
A reboot of the device will be required to make the license effective.
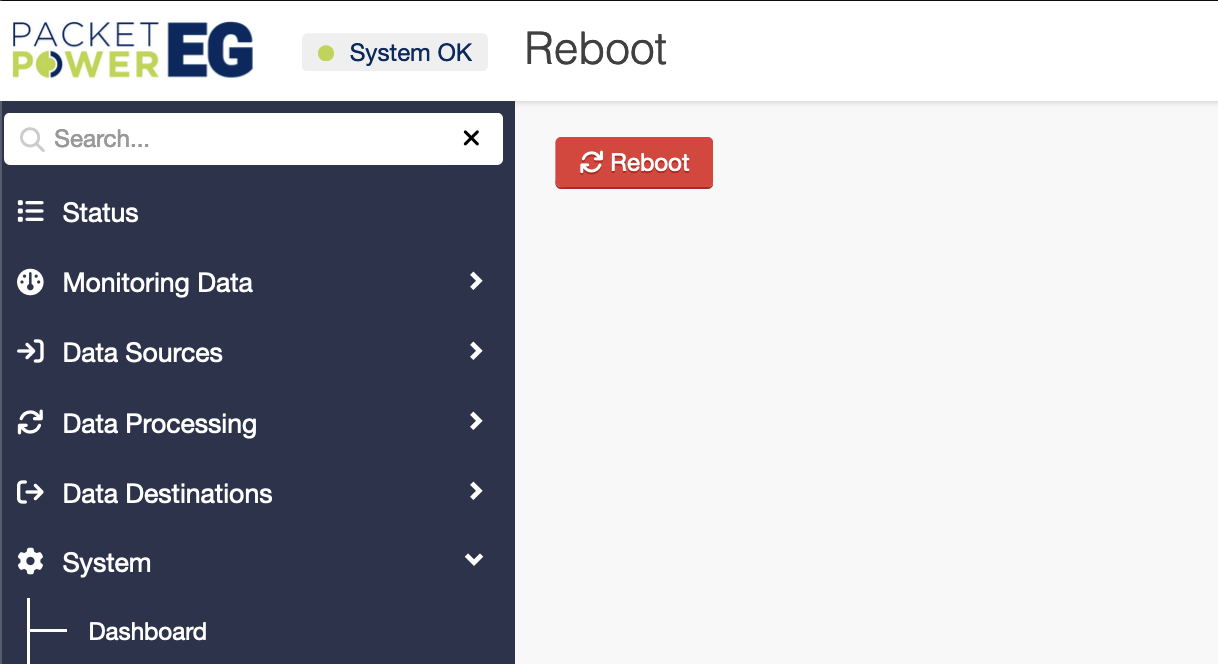
Reboot
In some cases, the Gateway may require “rebooting”. To reboot the Gateway:
-
Select the “Reboot” tab from the left menu.
-
Click the red “Reboot” button (1).
-
The Gateway will go offline and will reboot and reconnect to the network and all monitoring nodes once the reboot process is finished. This does not erase any configuration settings.
WARNING: Monitoring data will not be gathered from the nodes during a Gateway reboot unless there is a redundant Gateway that can assume the network traffic.
Logs
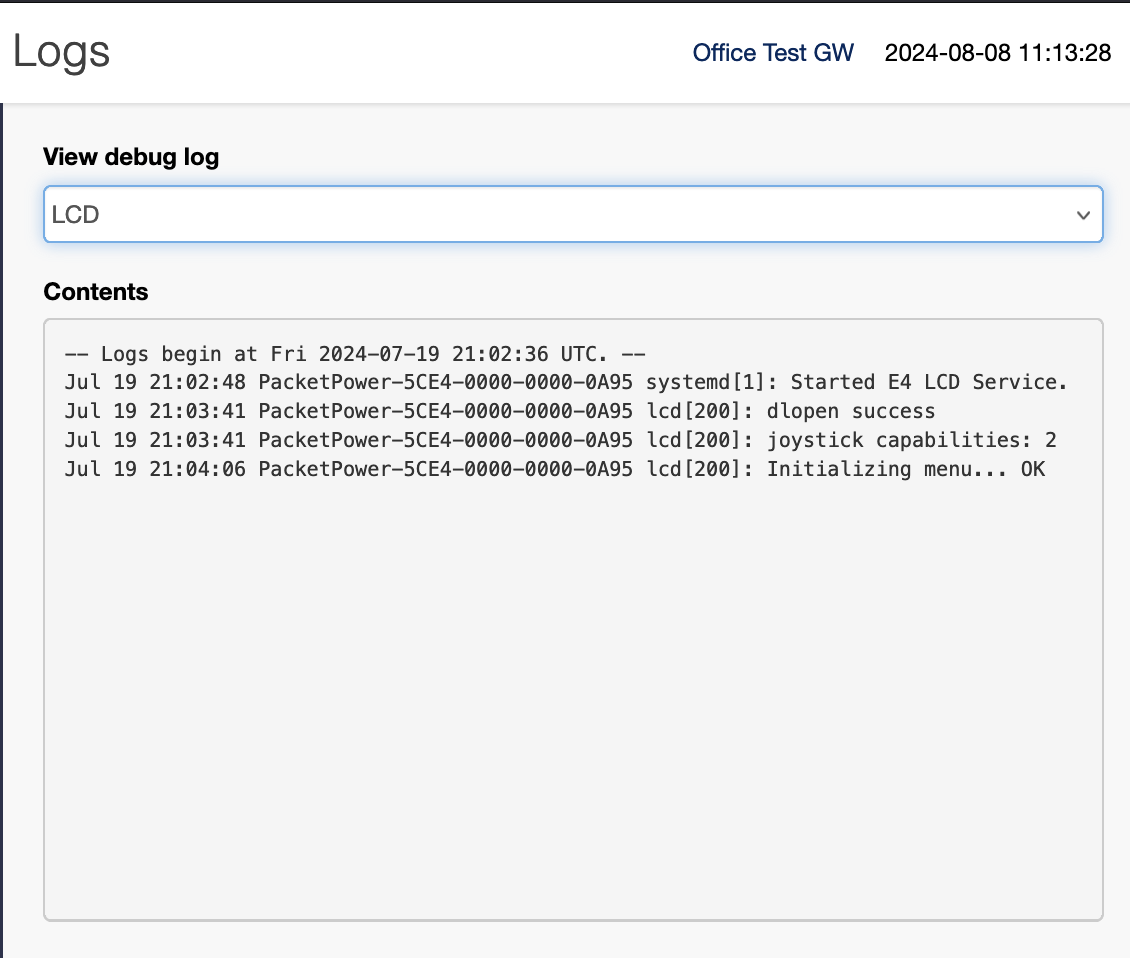
Logs provide critical operational details relating to the Gateway operation. They are retrieved for debugging purposes and used strictly by Packet Power engineers.
To obtain a log file:
-
Select the System → Logs menu.
-
Select the log to be accessed under the "View debug log" menu. The log file will then appear in the dialog box where it can be copied and pasted as required.
-
Note that there are seven unique logs:
-
Boot,
-
Console,
-
LCD,
-
OCD,
-
P5,
-
Task Manager,
-
and NTP Client.
-