

The Customize Interface feature lets you personalize the appearance of EMX for your account. You can upload separate logos for light and dark mode, and choose custom brand colors that replace Packet Power's defaults across the entire UI — buttons, headers, navigation highlights, and more.
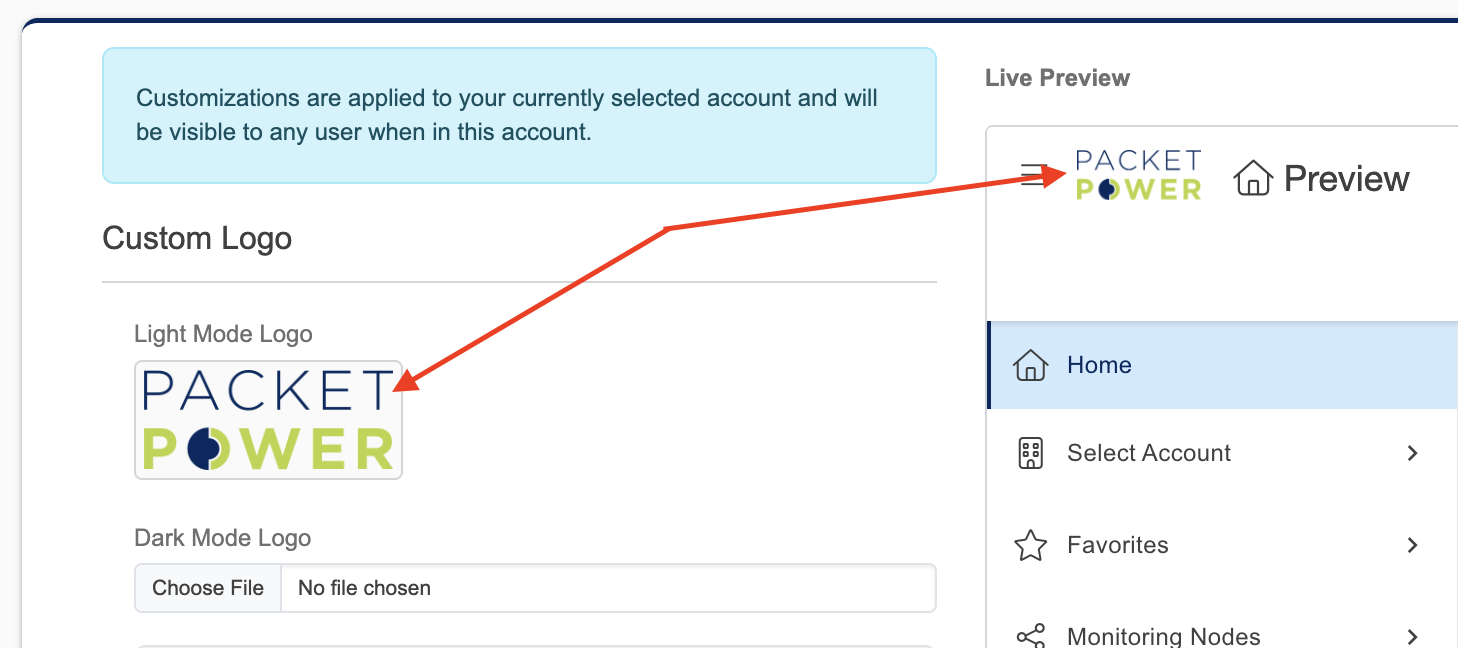
Changes are reflected in a live preview as you edit, so you can see exactly how EMX will look before saving.
How to Customize Your Interface
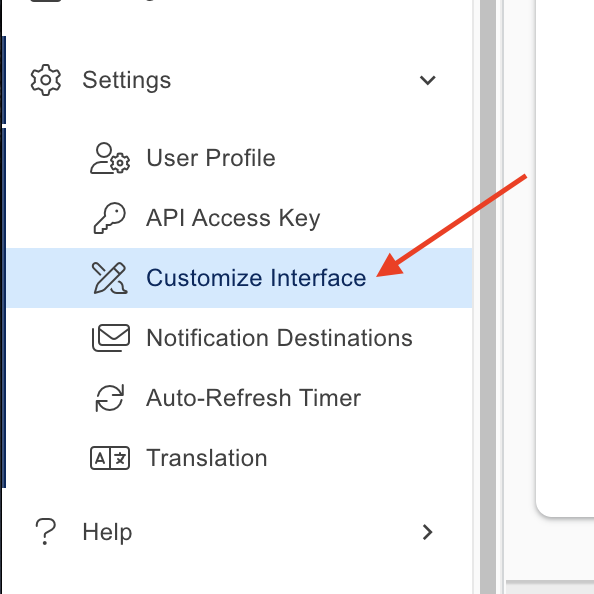
From the main navigation, go to Settings → Customize Interface.
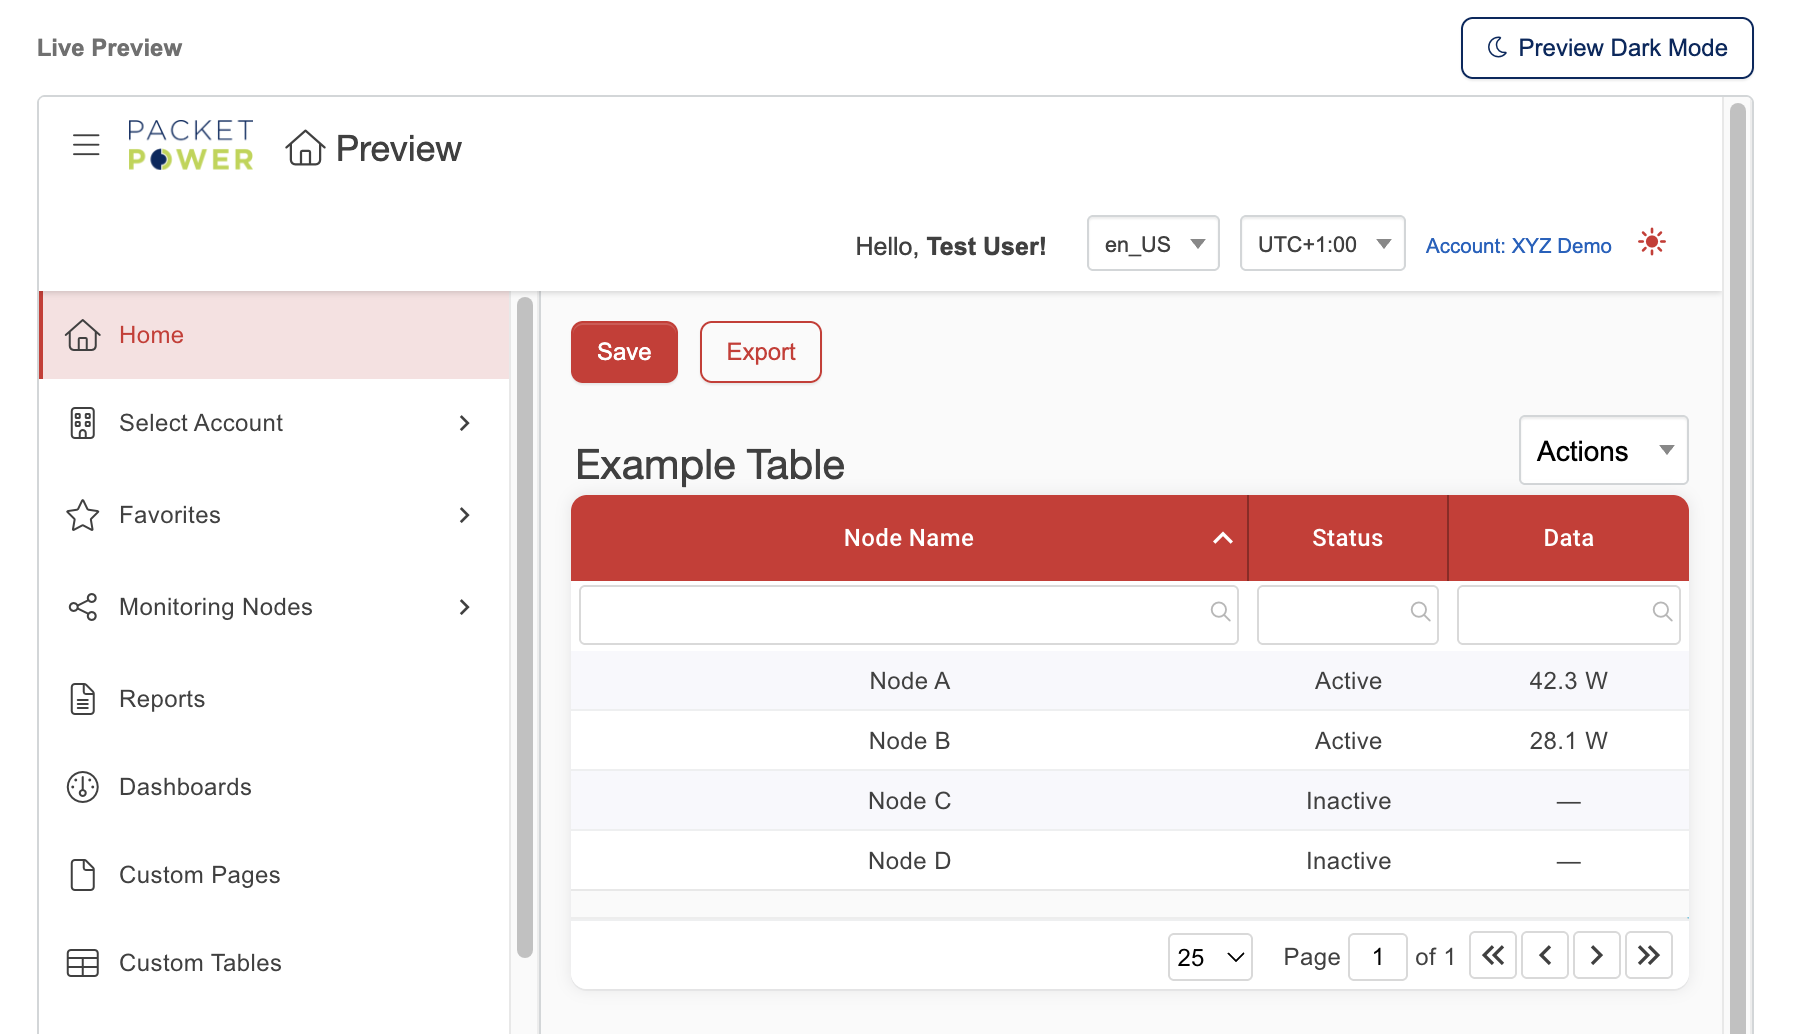
Live Preview
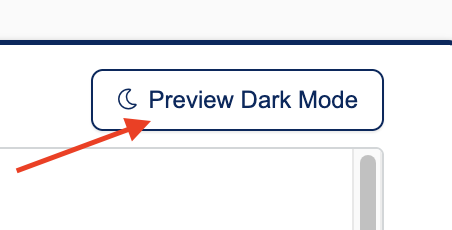
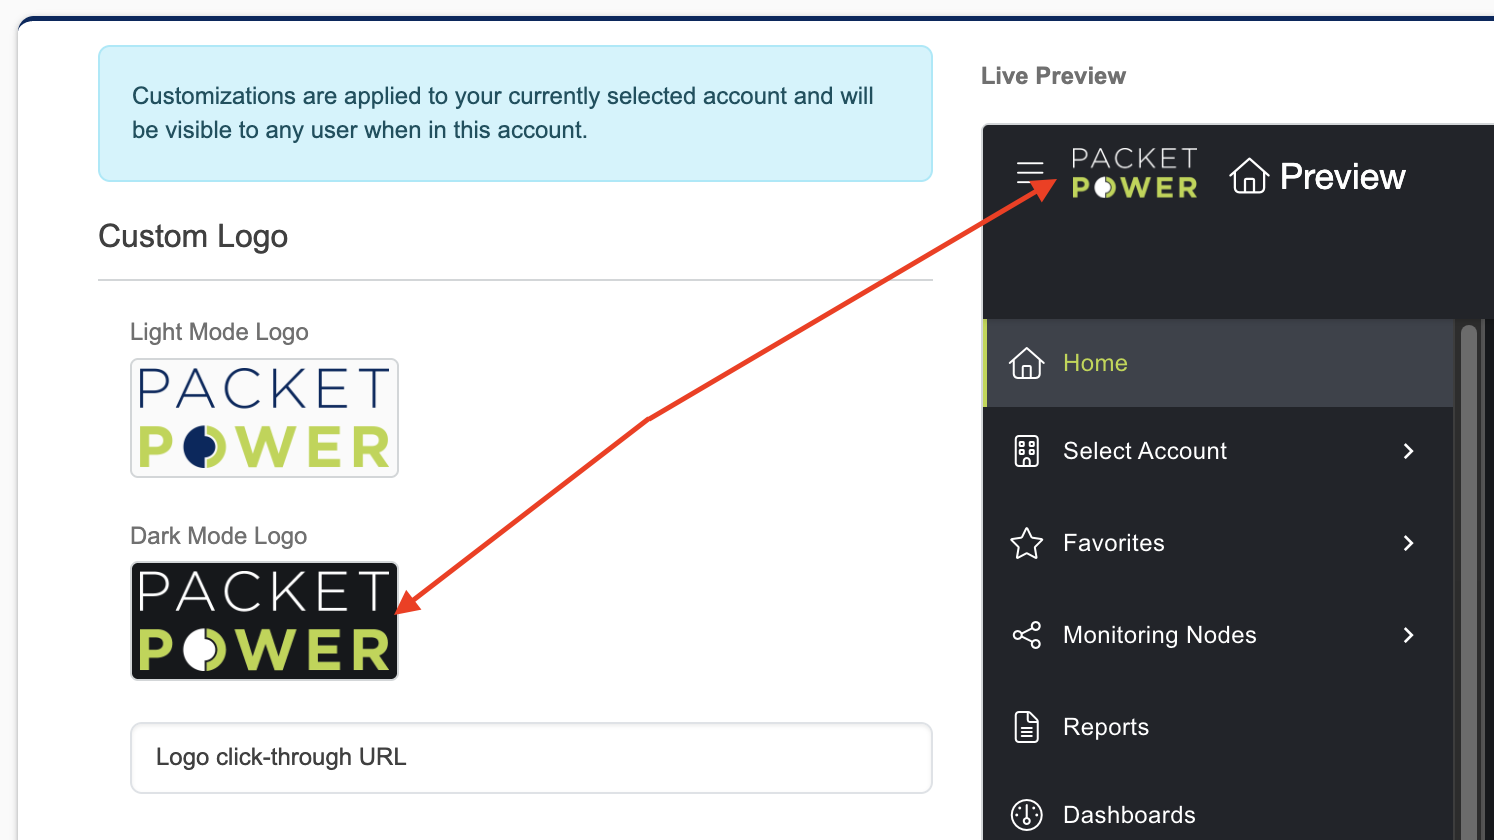
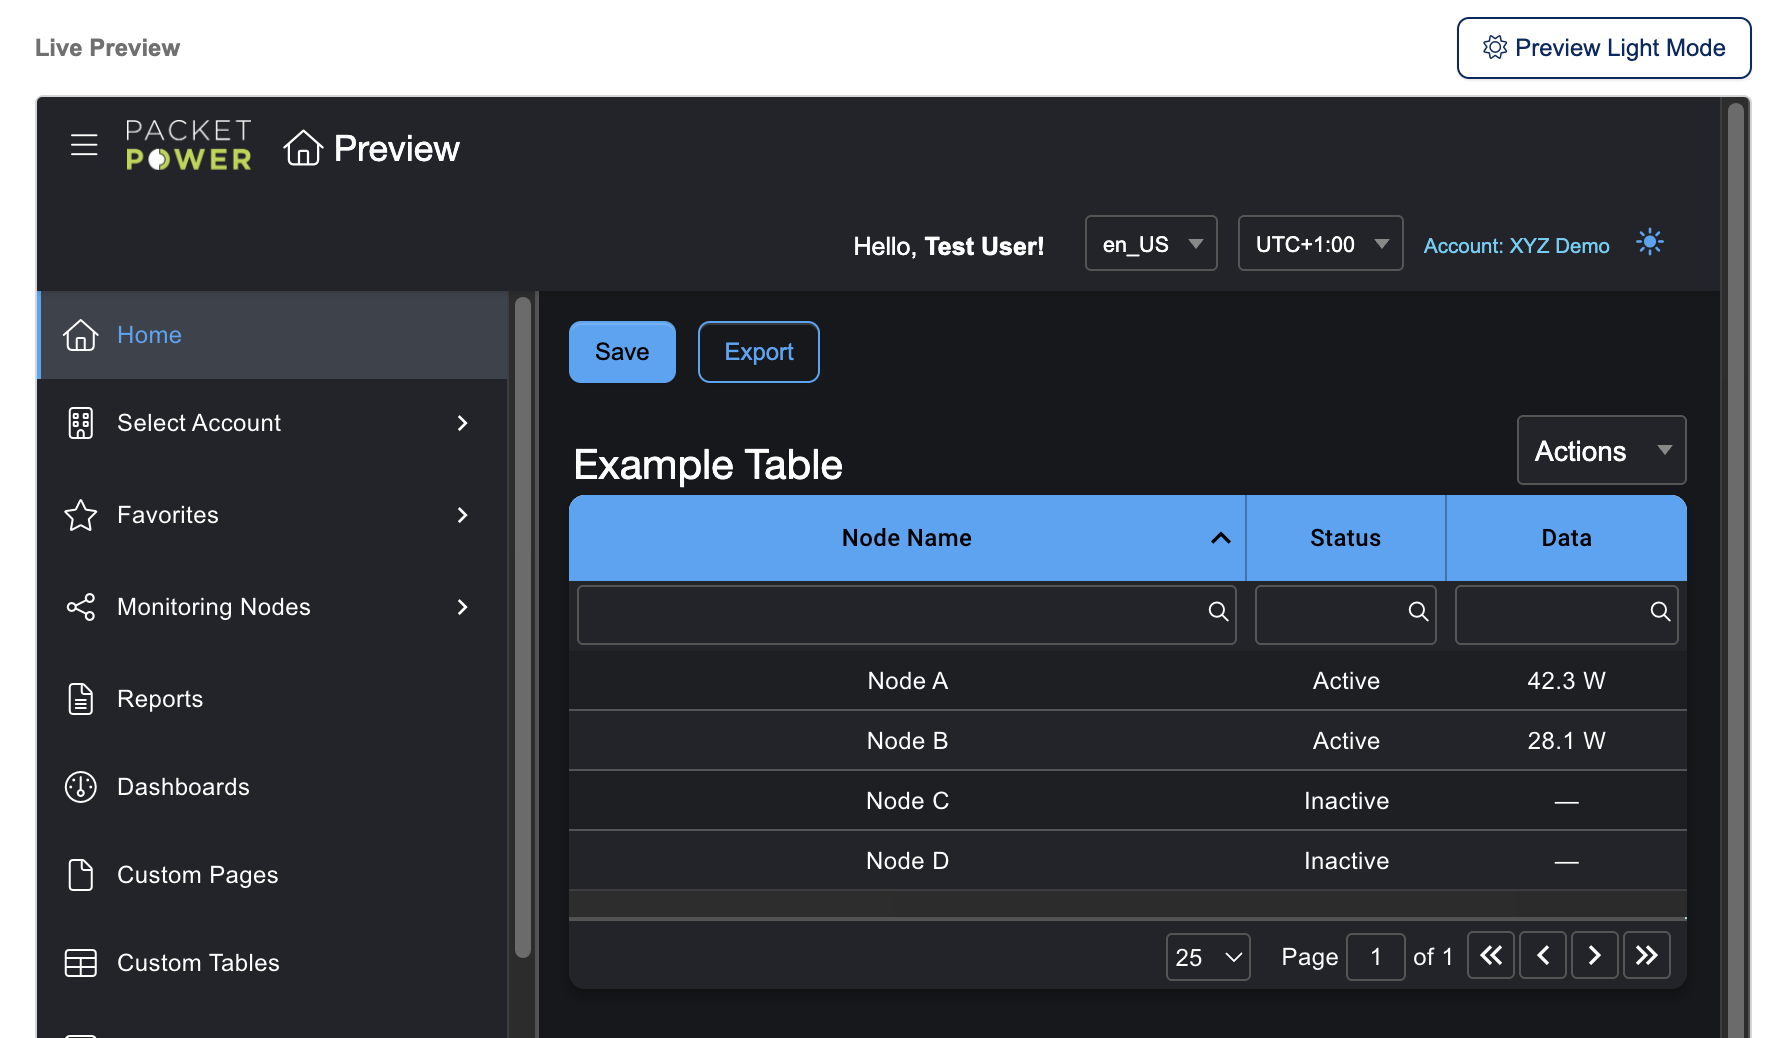
The preview panel includes a toggle button to switch between light and dark mode, letting you check how your logo and brand color look in both themes without leaving the page. Click the toggle to swap between modes and make any adjustments before saving.
Adding Custom Logos
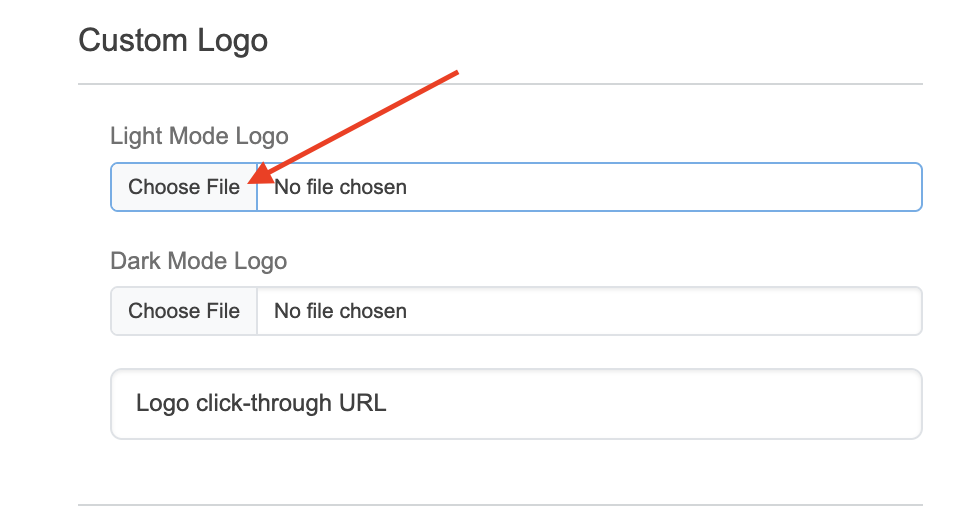
EMX supports separate logos for light mode and dark mode, so your branding looks correct regardless of which theme your users prefer.
-
Under Custom Logo, click Choose File.
-
Select an image file from your computer. The preview updates immediately so you can see how it will appear.
-
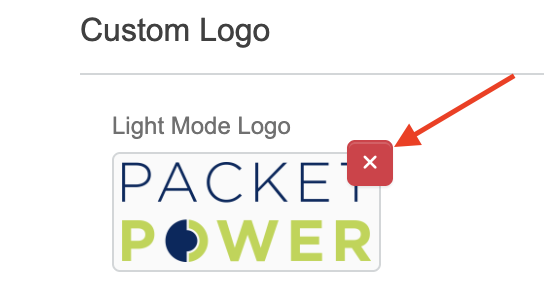
To remove an existing logo, hover over the preview image and click the × that appears.
-
Repeat for the other mode.
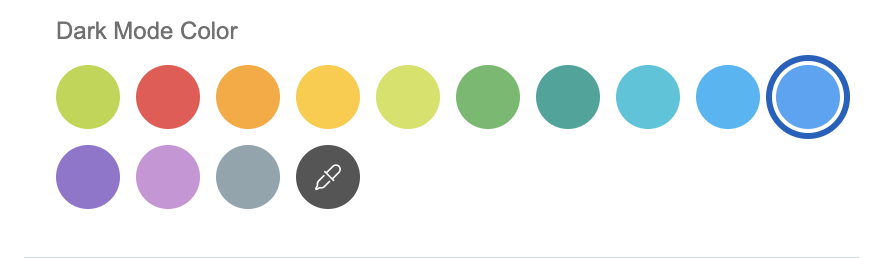
Setting Brand Colors
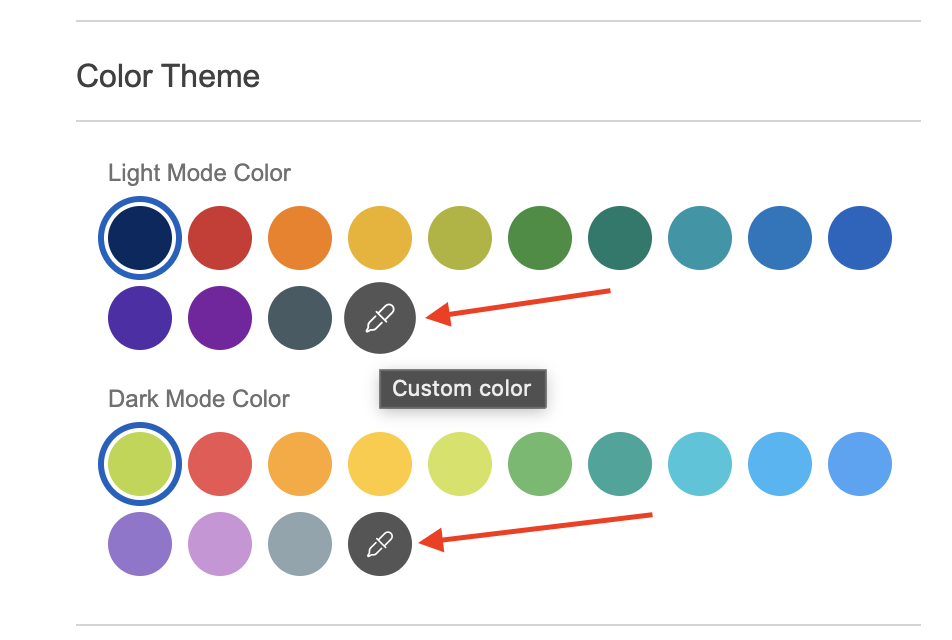
Under Brand Colors, there are a list of preset colors to choose from for both light mode and dark mode, or you can select your own custom color by clicking on the dropper icon and selecting a color from the color wheel.
-
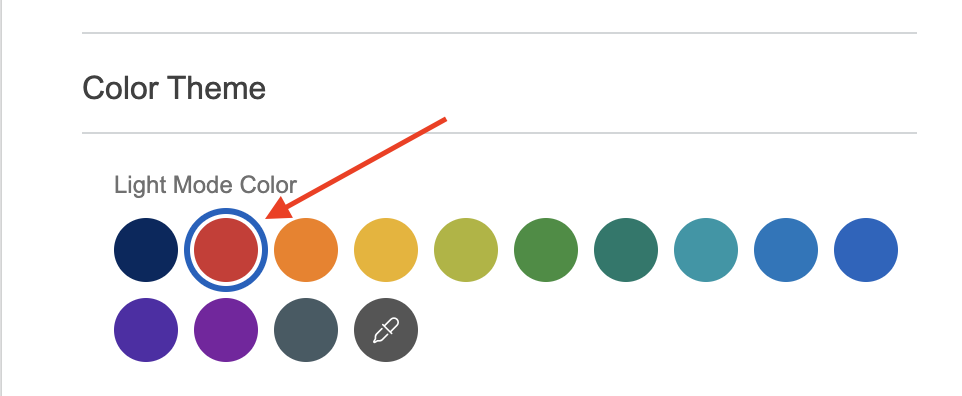
Select your desired color. The live preview on the right reflects your changes in real time.
-
Repeat for the Dark Mode color if you want a separate brand color for users on dark theme.
Saving Your Changes
Once you're happy with how everything looks in the preview, click Save to apply the changes to your currently selected account.