

Equipment Locations define the physical placement of your equipment. Each Equipment Location includes a 3D layout that allows you to build, visualize, and manage all equipment at that location.
Navigating to Equipment Locations
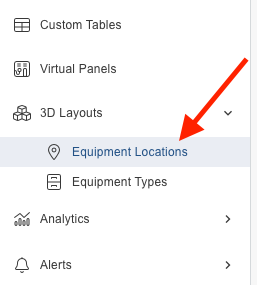
Go to 3D Layouts → Equipment Locations.
Adding a Location
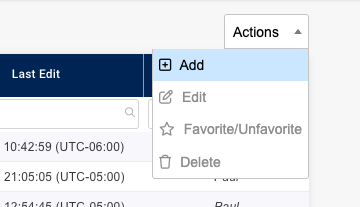
Use the Action Drop down to add a new location.
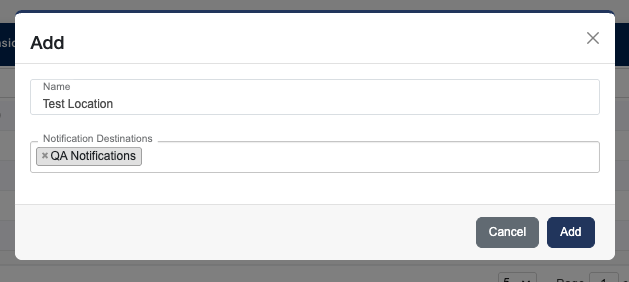
Add a location Name and your Equipment Destinations then click Add. The notification destinations field determines where your Equipment Alerts for this location are sent. For more information visit: Equipment Alerts.
Adding Equipment to a Location
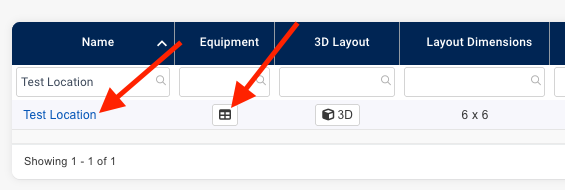
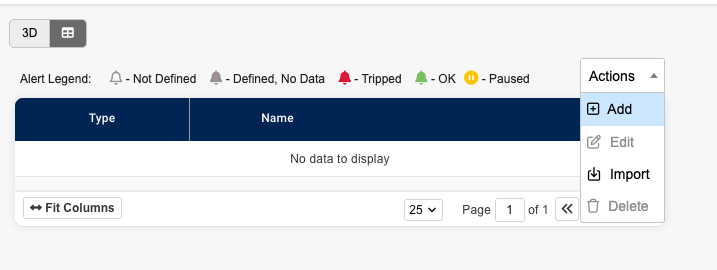
Click on the location’s equipment button or locations name to go to the locations equipment list.
Click Add in the actions drop down.
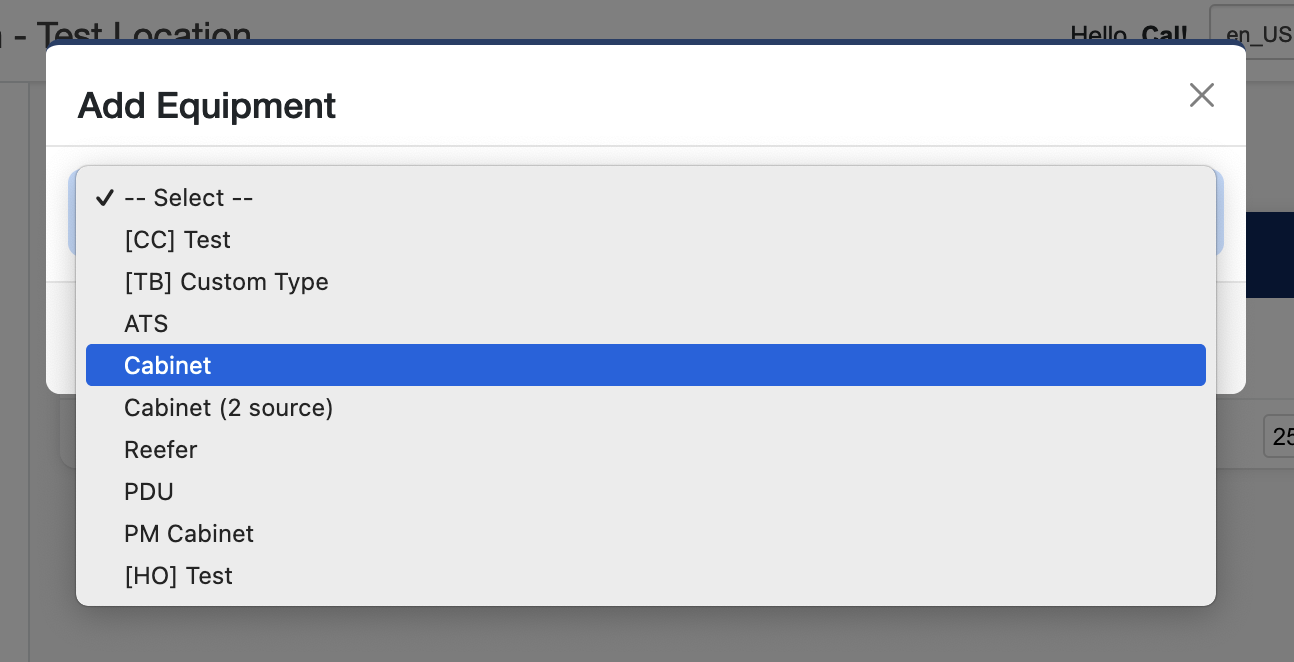
Select the type of equipment you want to add, fill out the rest of the fields and click Add.
You can edit an equipments metrics by clicking on the edit pencil icon in the table. For node type metrics, you will be prompted to select a guid. For reading types, you will need to select a source node and a channel to display. Custom metrics are defined from other metrics and are not editable.
Once a metric is defined, you can edit or delete it by hovering your mouse over the existing value.
Importing Equipment
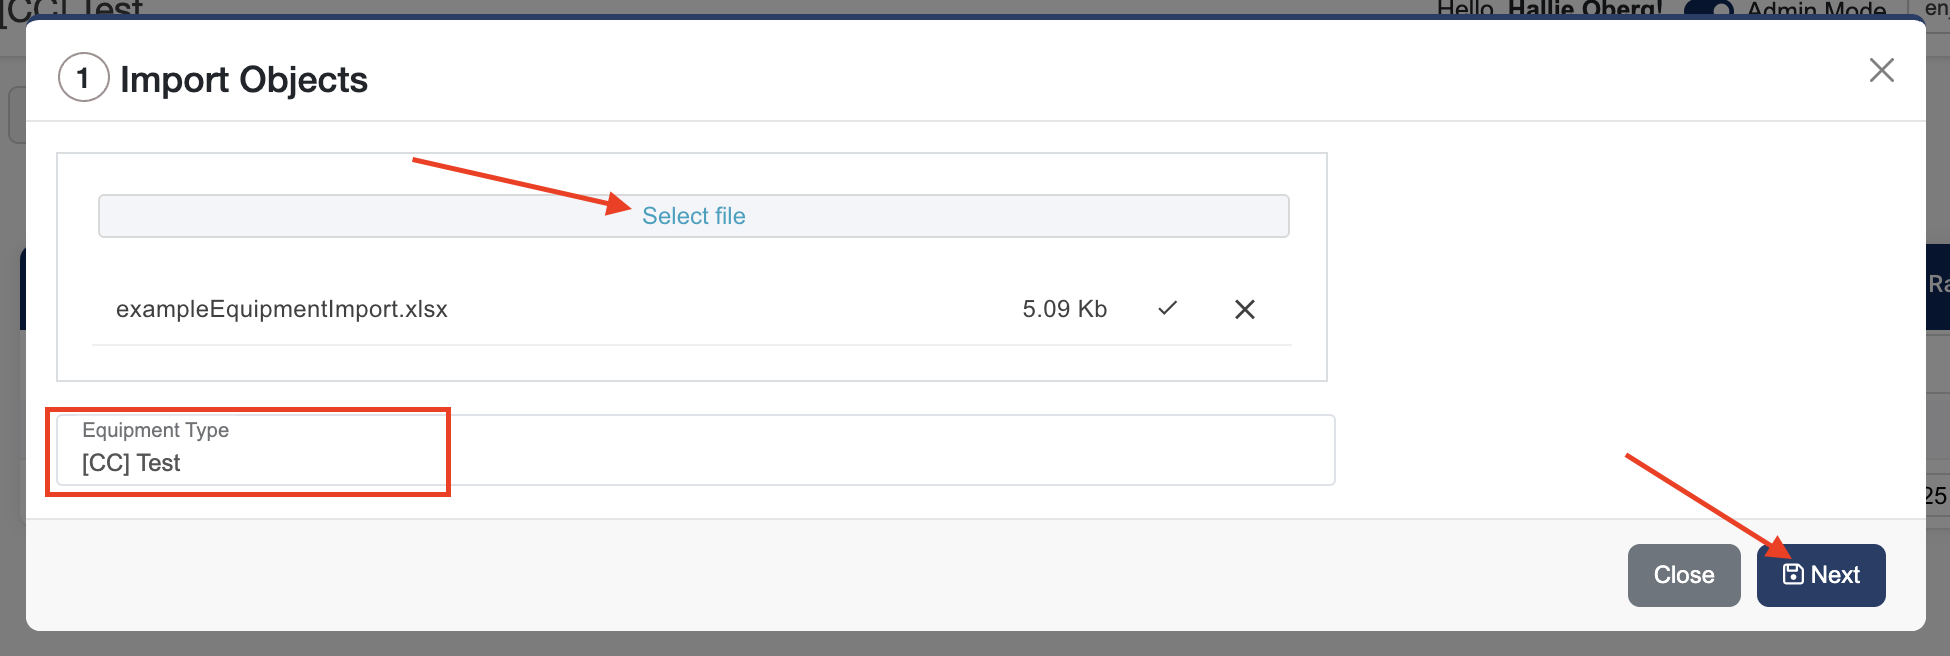
Step 1: Upload your file
-
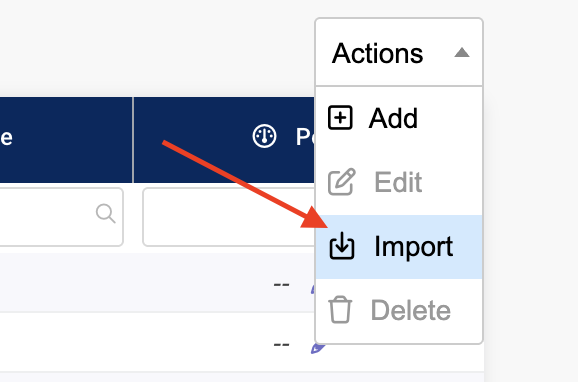
Click Import in the actions dropdown.
-
Click Select file and choose your import file.
Supported file types: Excel, CSV, JSON -
Select the Equipment Type you will be importing
-
Click Next.
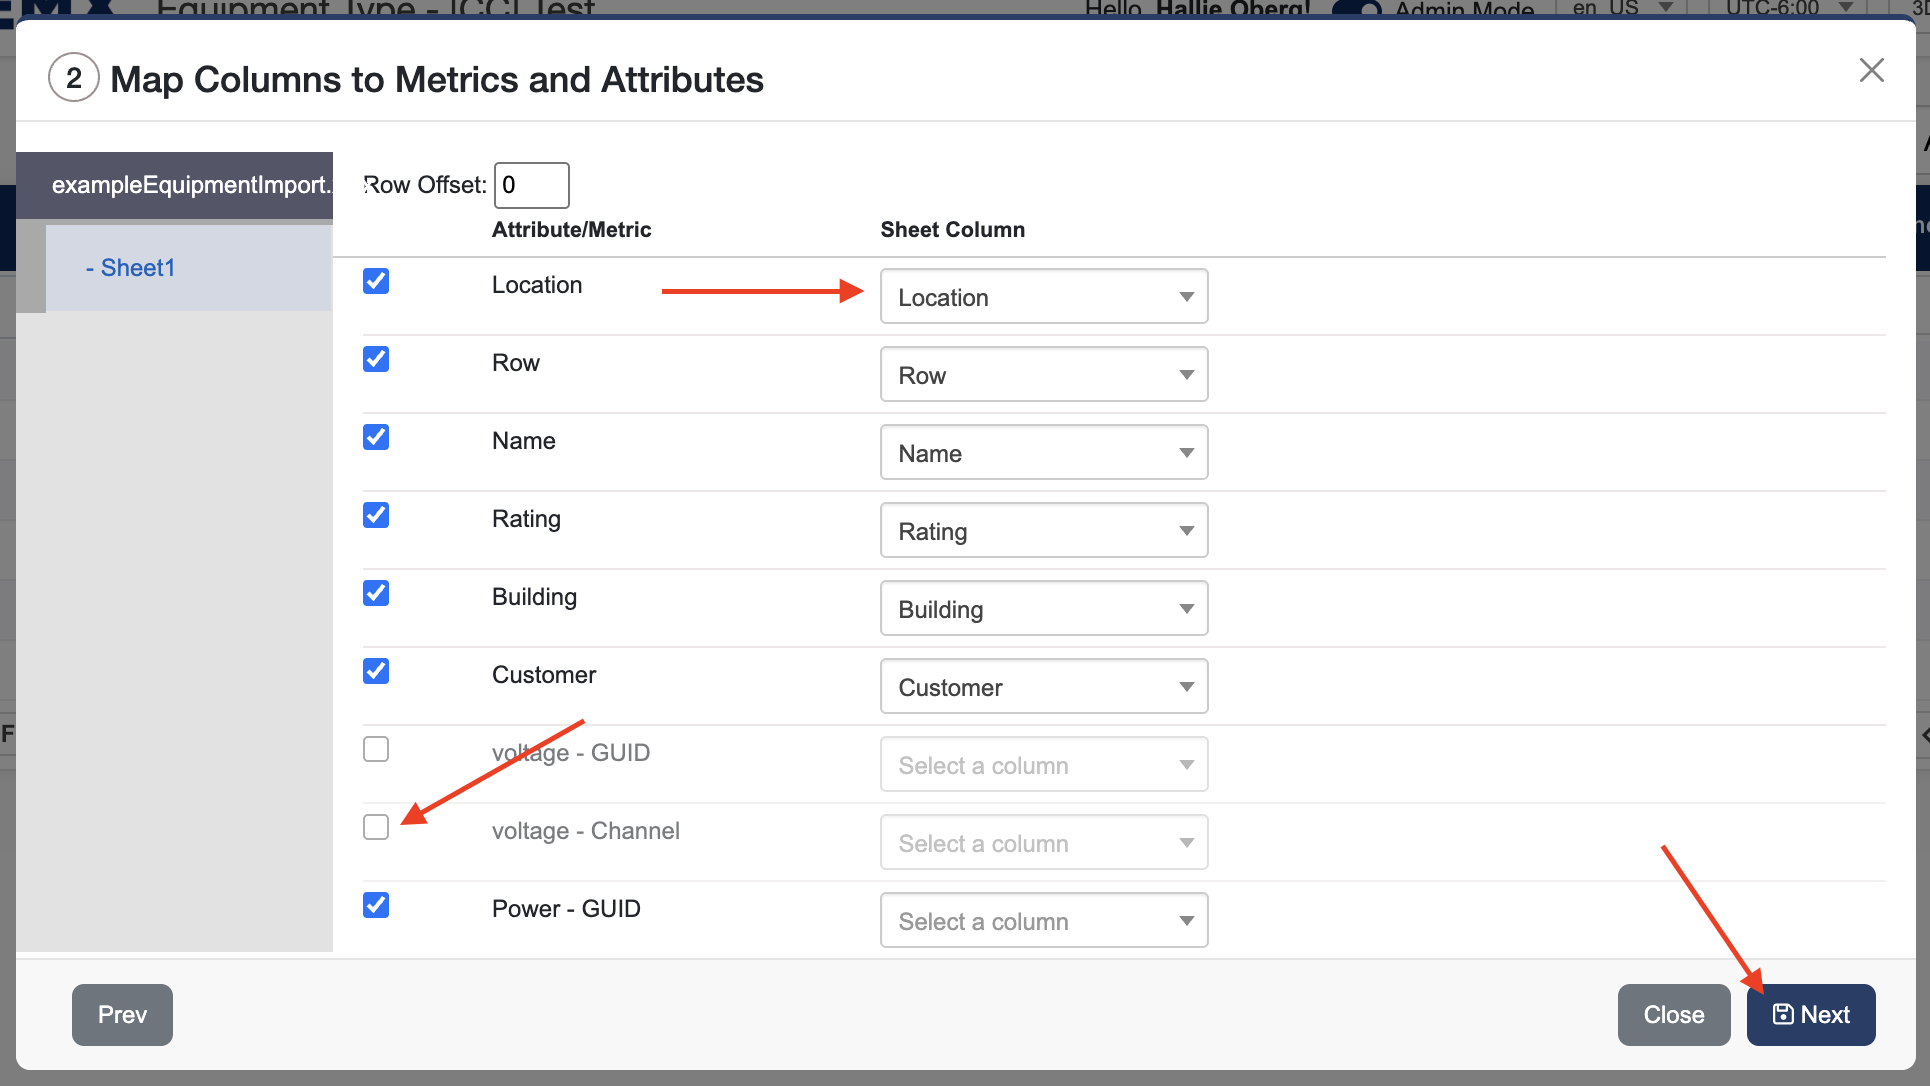
Step 2: Map columns
-
Select which column in your file contains the equipment Name (required).
-
Map any additional columns to equipment tags or metrics (optional).
-
Uncheck any columns you don’t want to import.
-
If your file includes extra header rows at the top, use the Row Offset option to skip them during import.
-
Click Next.
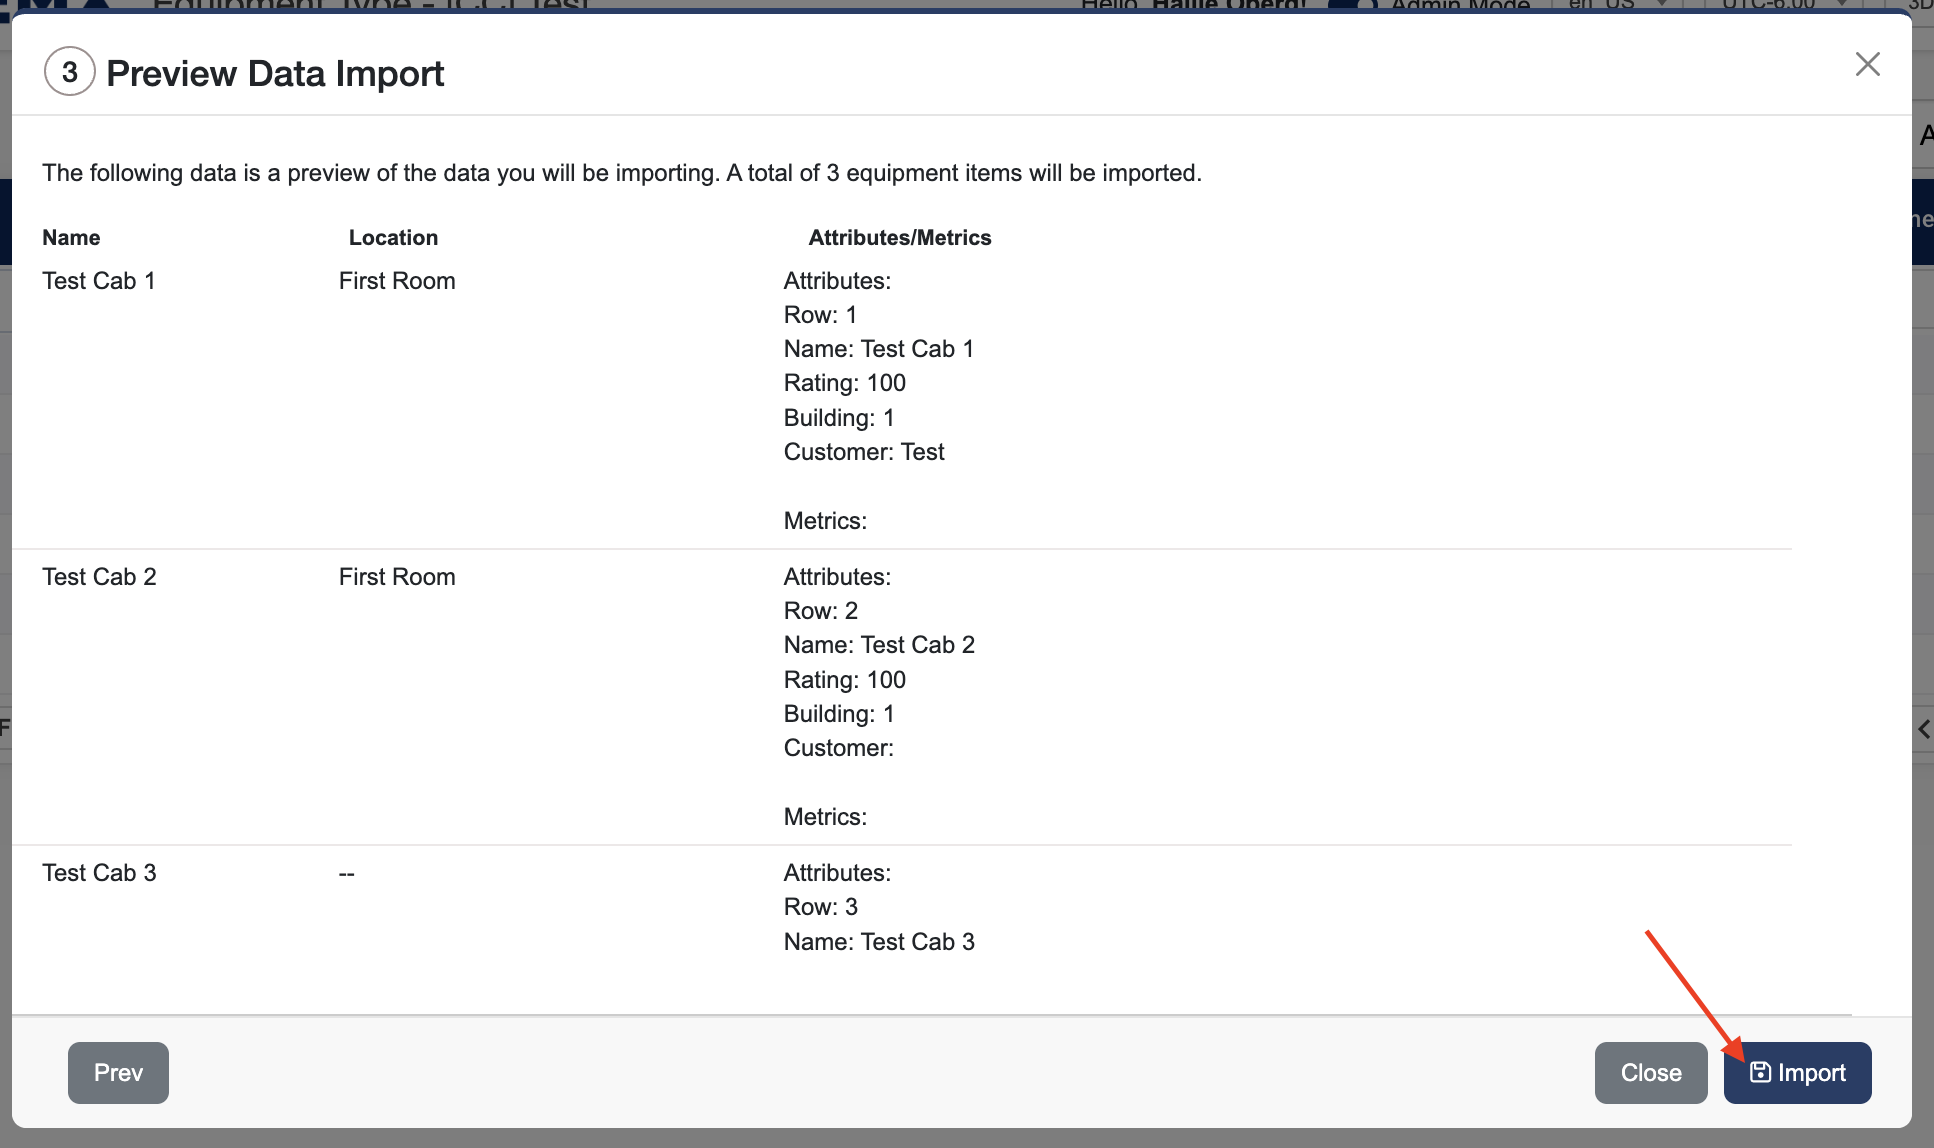
Step 3: Preview the import
-
Review the data to make sure everything looks correct.
-
Confirm how many equipment items will be imported.
-
Click Import.
Step 4: Review results
-
You’ll see a confirmation showing how many items were successfully imported.
-
Click Start Over to import another file.

File preparation tips
To ensure a successful import, make sure your file:
-
Has column headers in the first row (for example: Name, Building, Serial Number). The system will automatically match columns with the same names where possible.
-
Contains one row per piece of equipment
-
Includes at least a Name column (required)